Shoelace Fixation Guide
This guide describes how to mount the dorsal interface onto the shoe and secure it using auxiliary shoelaces for PrintExo.
1. Overview
The shoelace fixation method provides a non-invasive, shoe-agnostic interface that allows PrintExo to be mounted on standard lace-up footwear without permanent modification.
This guide covers: - mounting the dorsal interface onto the shoe, - routing and tensioning shoelaces for secure fixation.
2. Before You Begin
Checklist
- [ ] PrintExo assembly completed up to Assembly Guide – Step 21
- [ ] Dorsal interface prepared
- [ ] Auxiliary shoelaces prepared
- [ ] Lace-up shoe selected (standard eyelets)
3. Dorsal Interface Fixation Steps
Step 1 — Prepare the Shoe
Loosen and remove the original shoelaces to expose the shoe tongue.
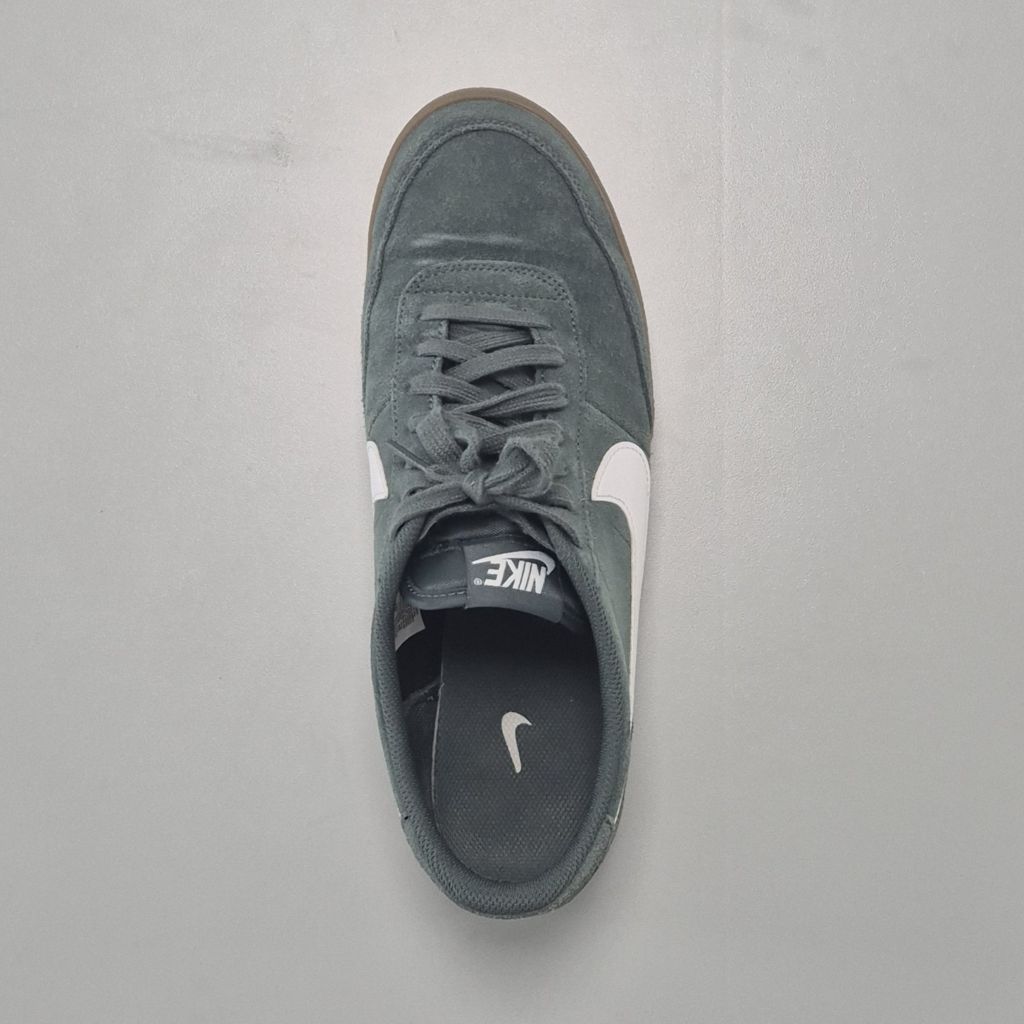
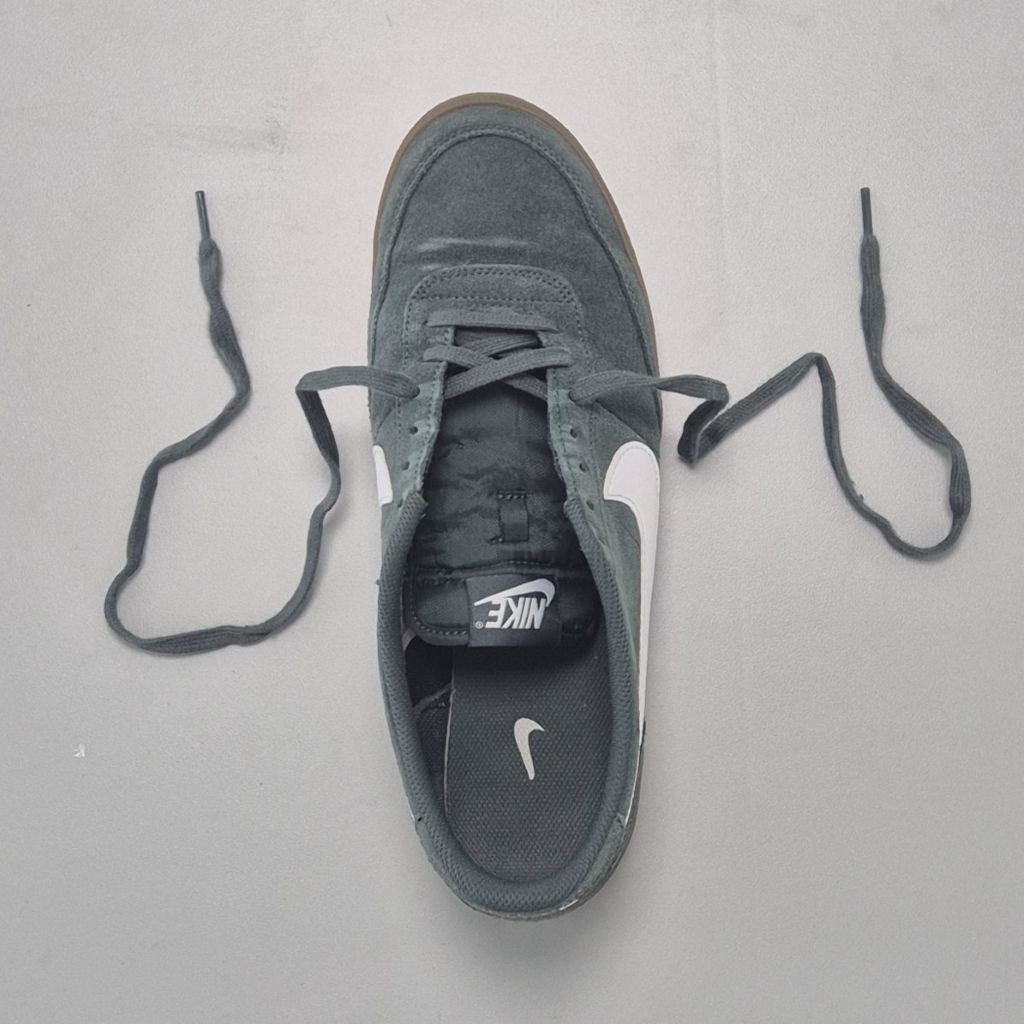
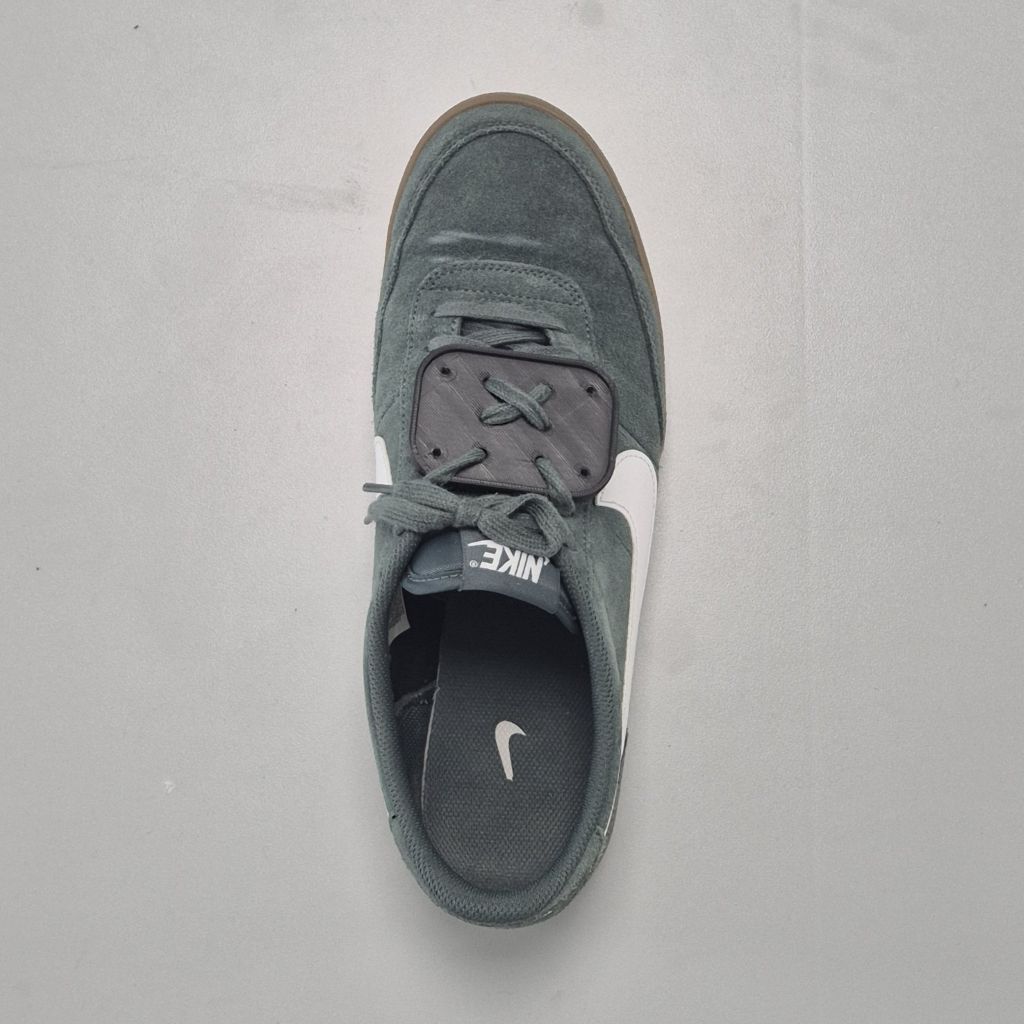
Step 2 — Position the Dorsal Interface
Place the Dorsal Interface on top of the shoe tongue and align it with the shoe eyelets.
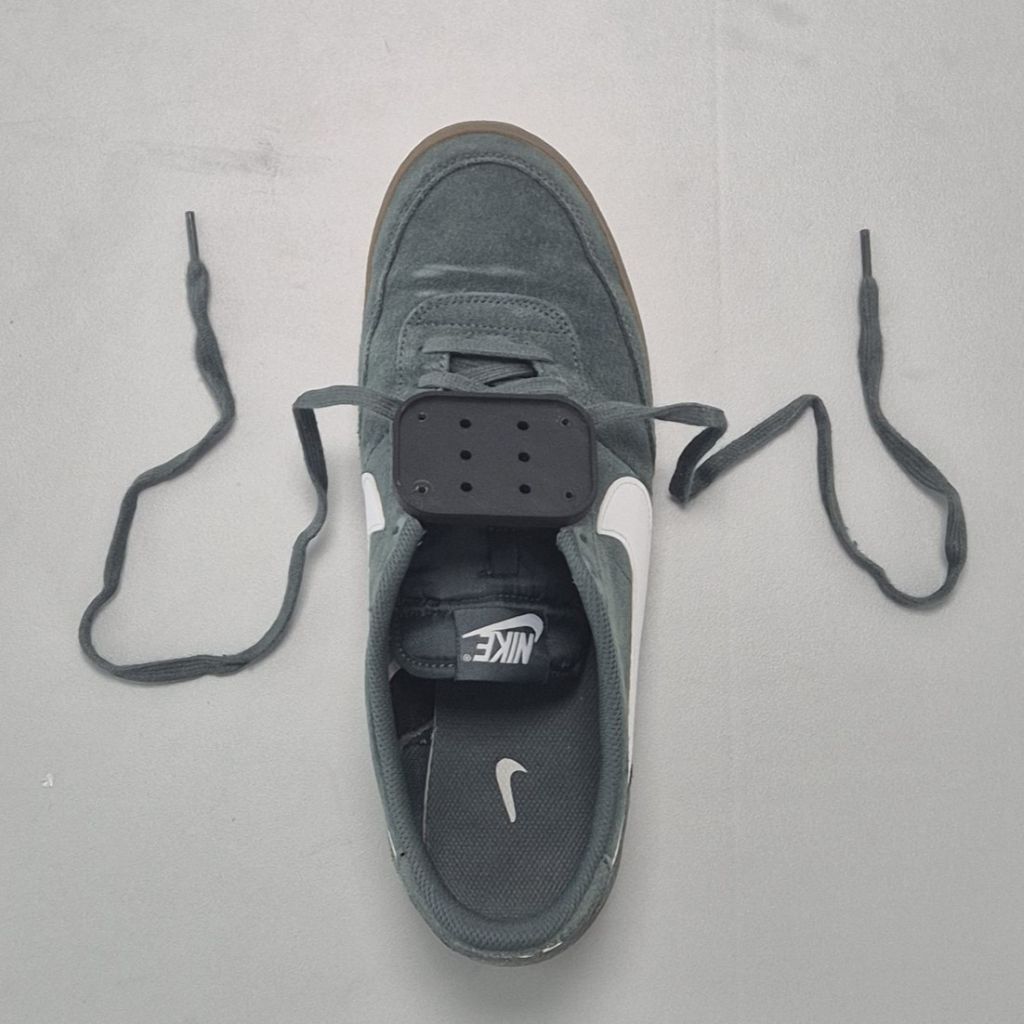
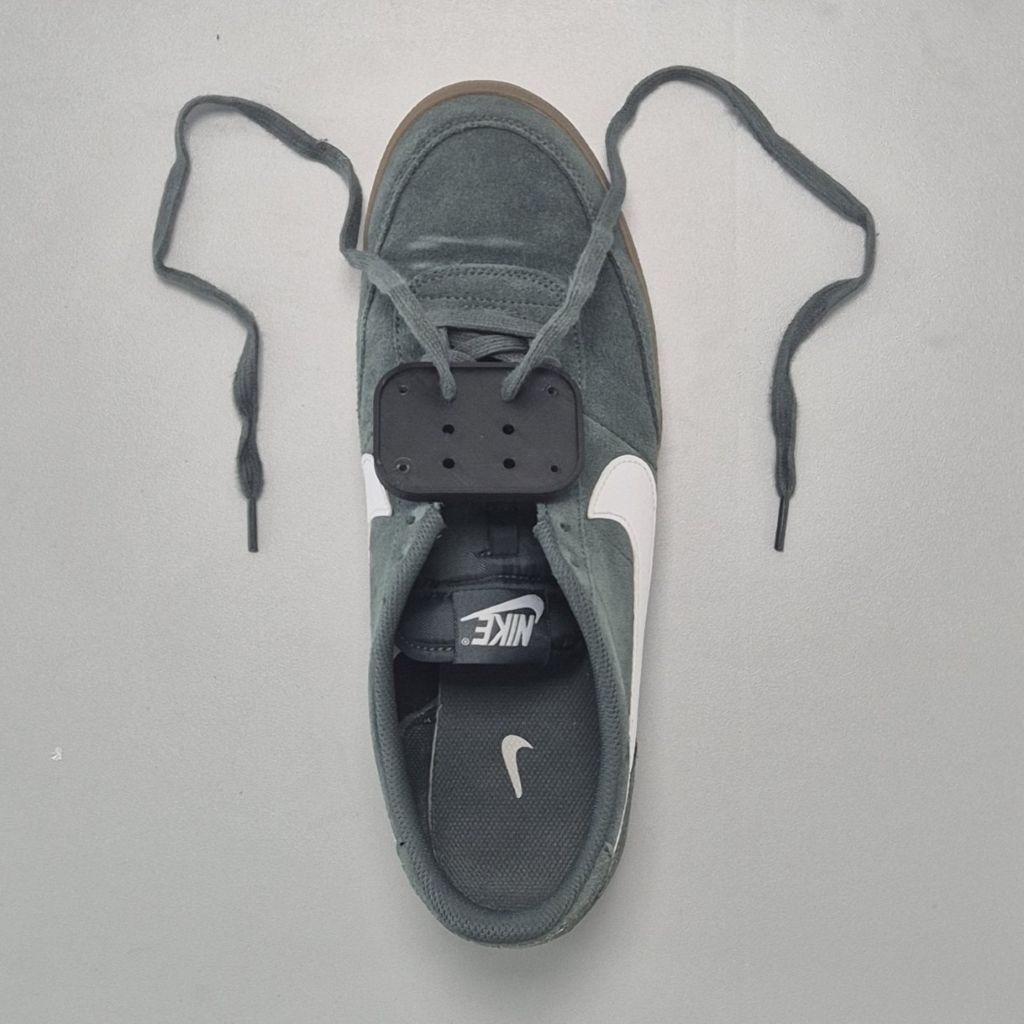
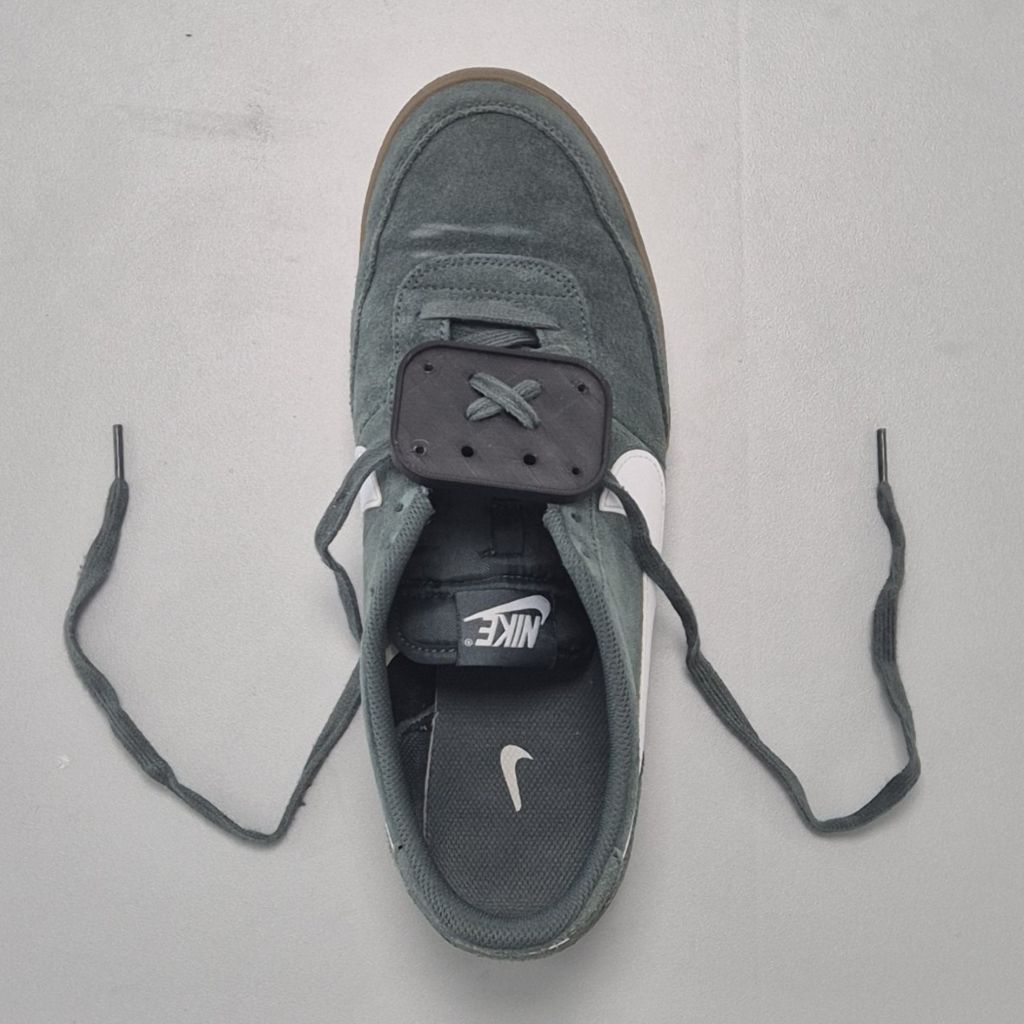
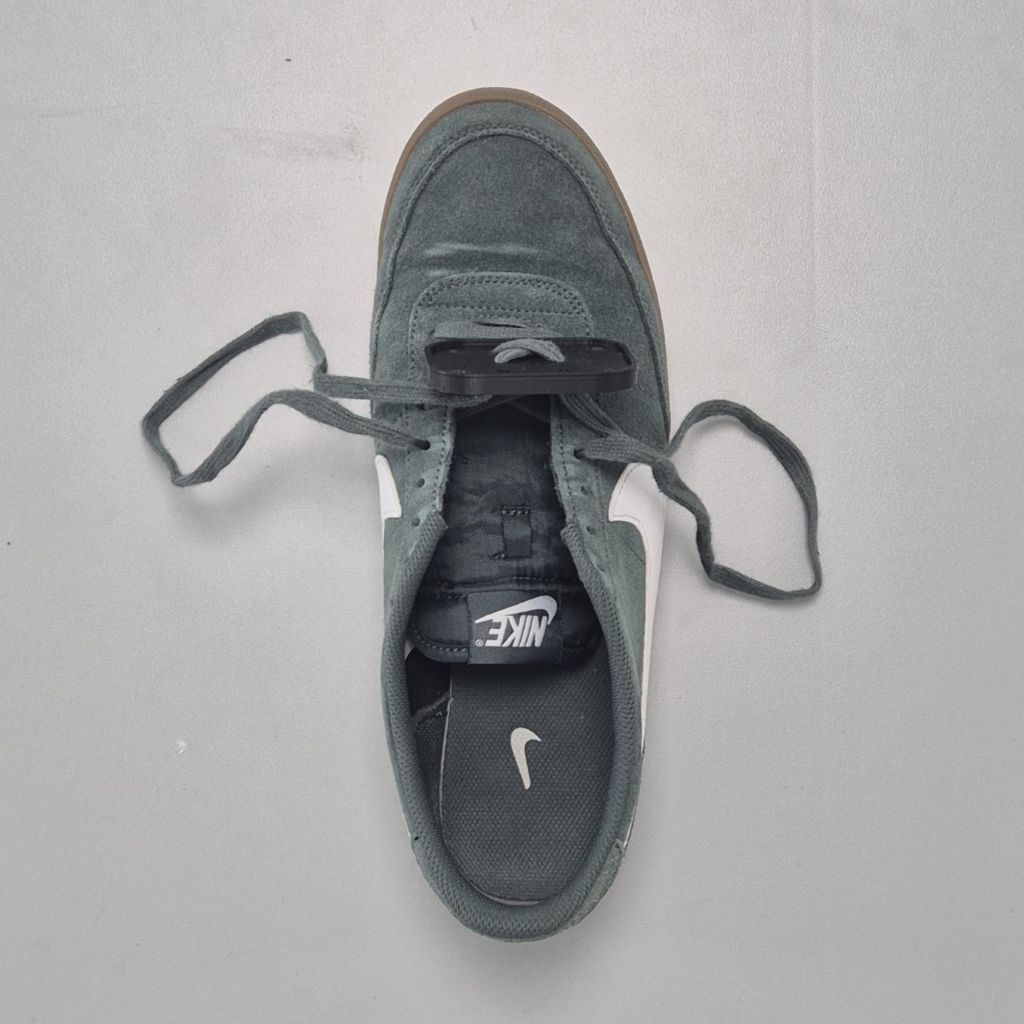
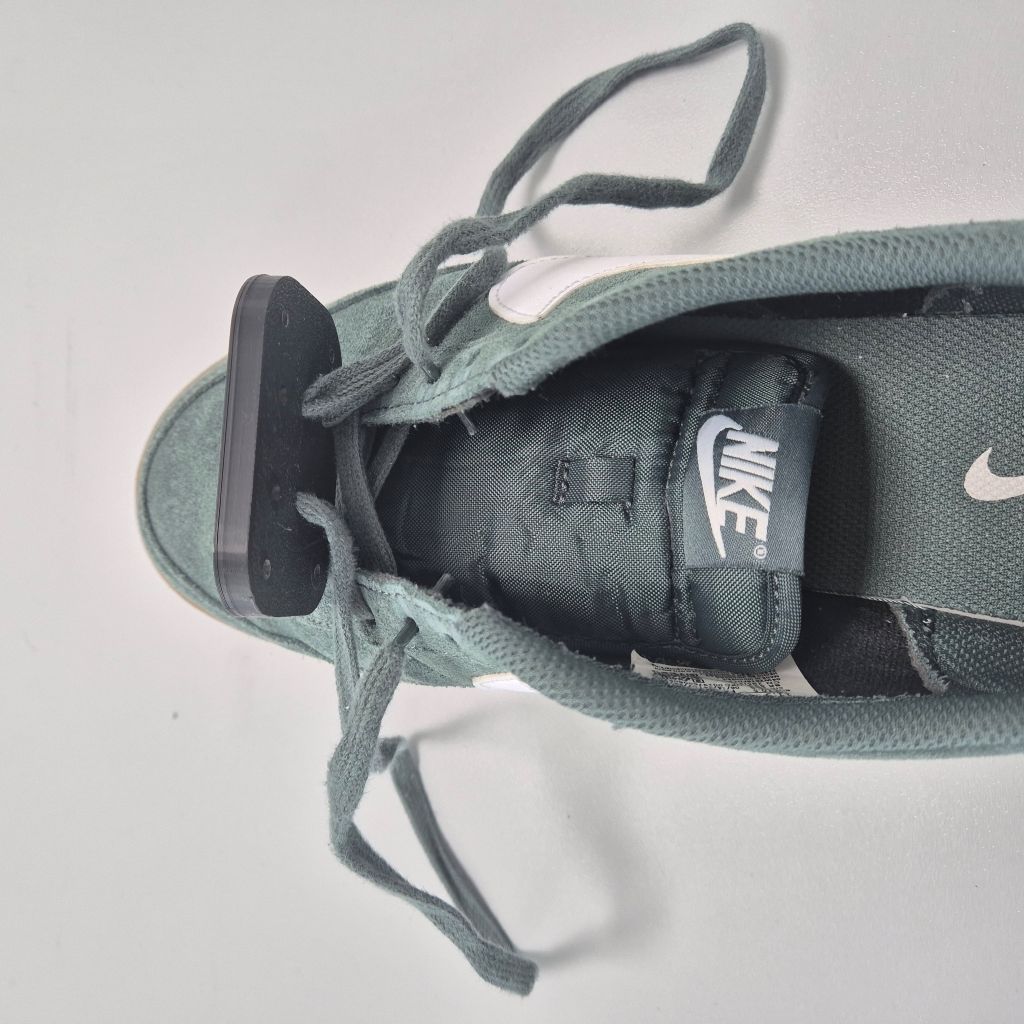
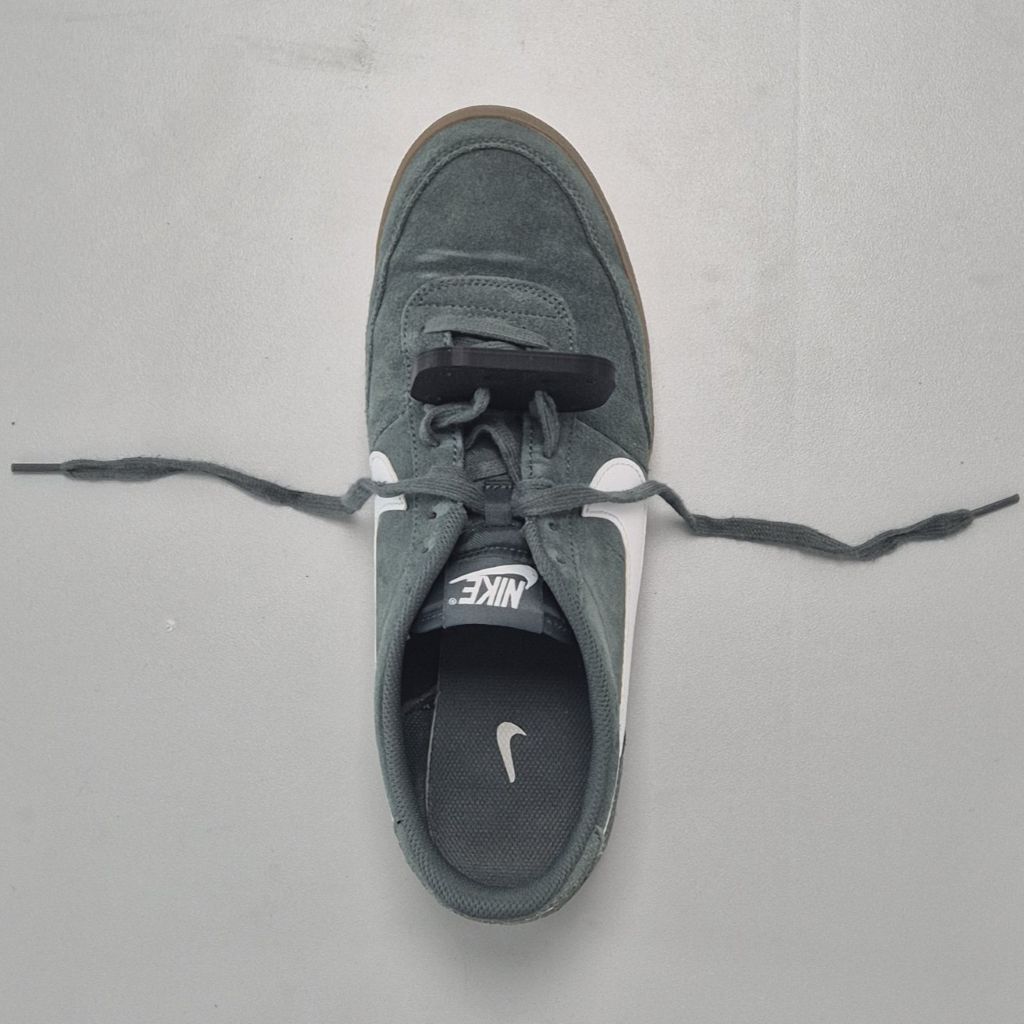
Step 3 — Route the Shoelace
Route the shoelace in the following order as shown.
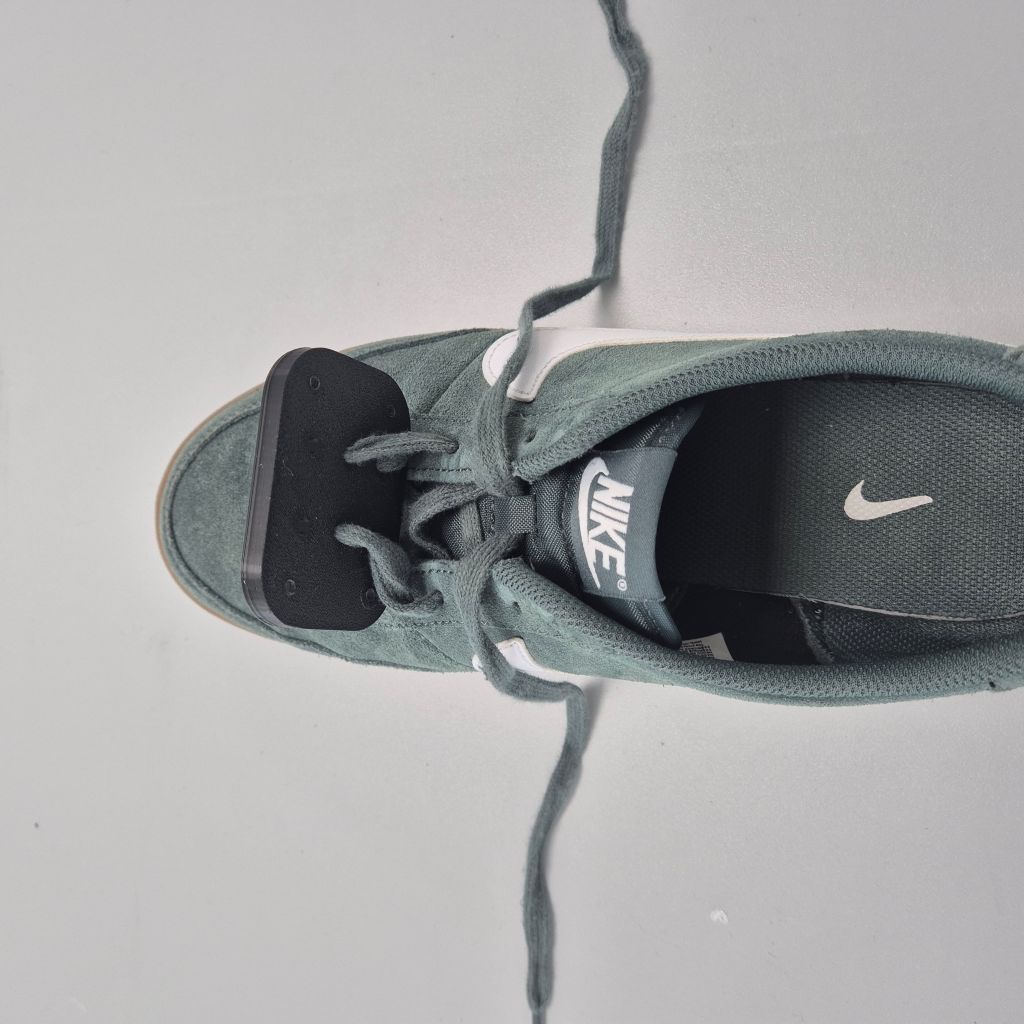

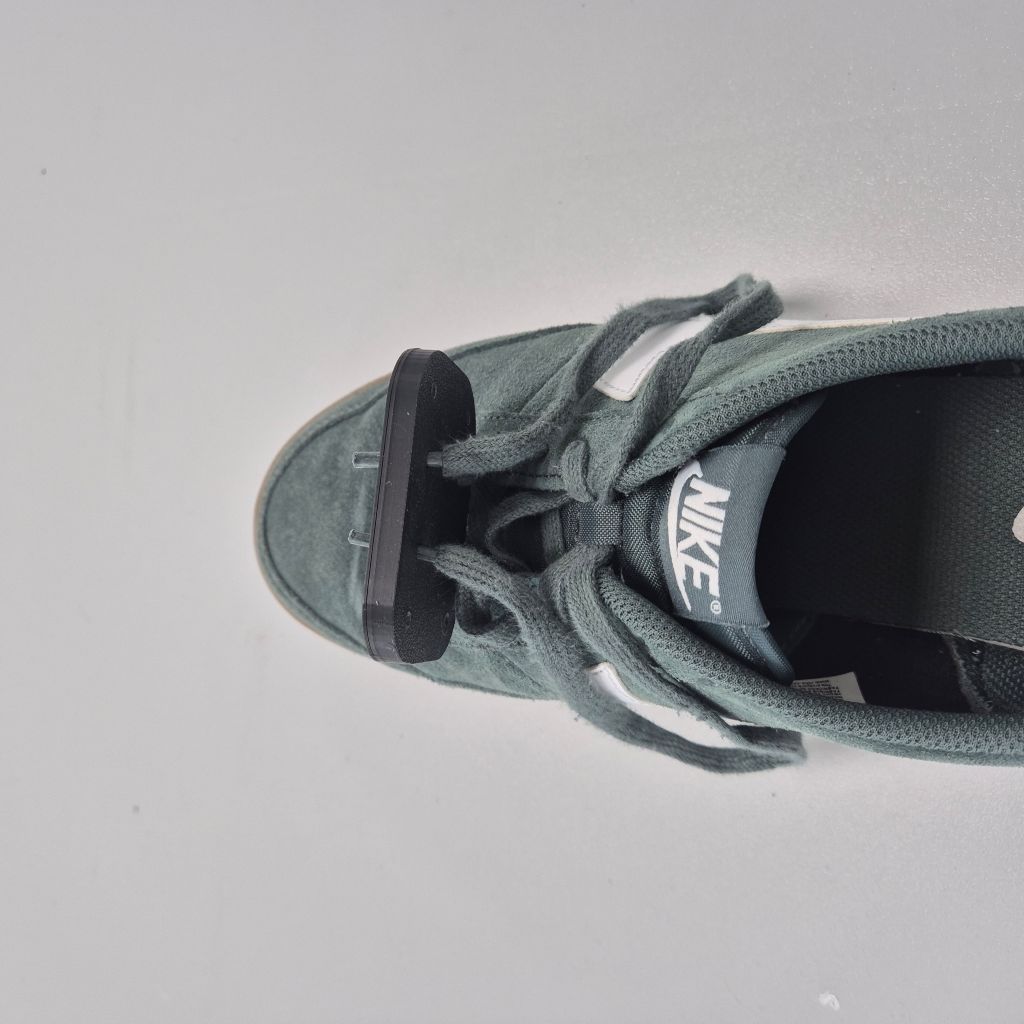
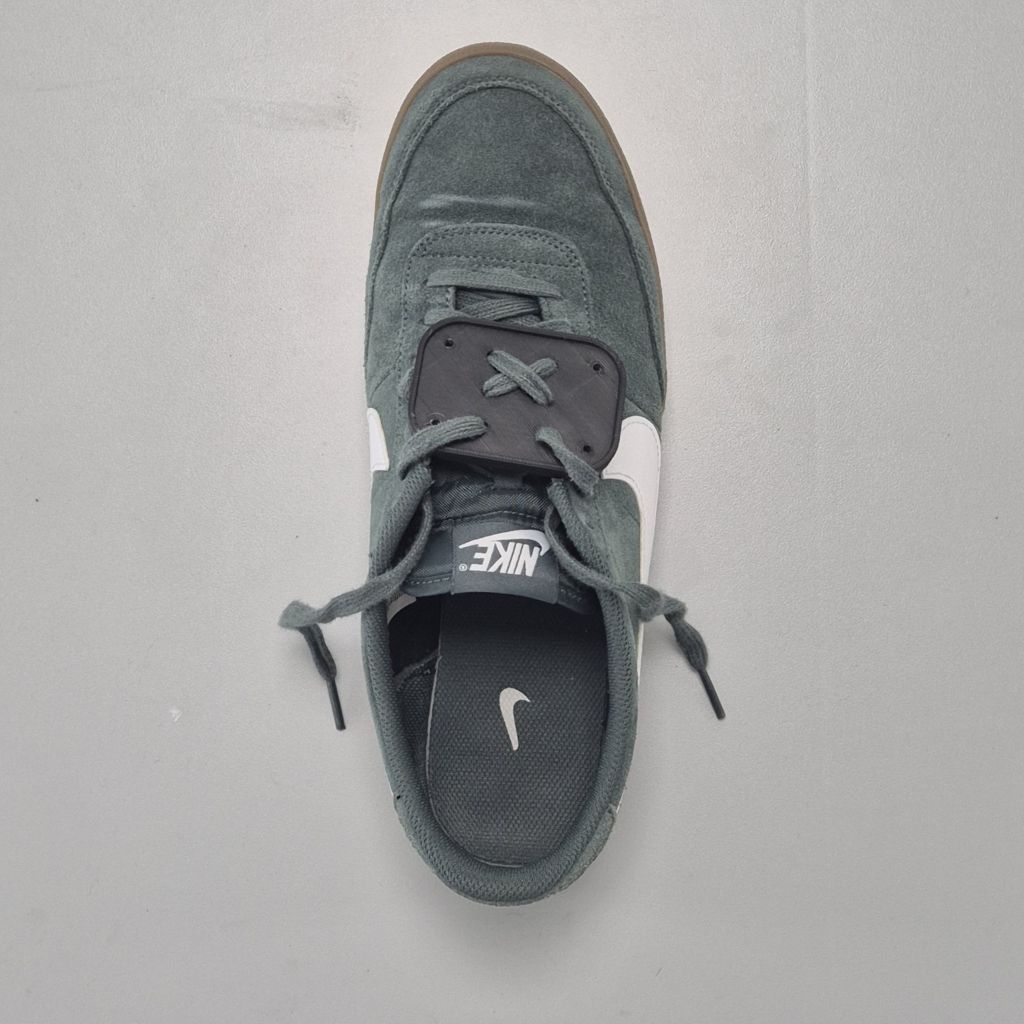
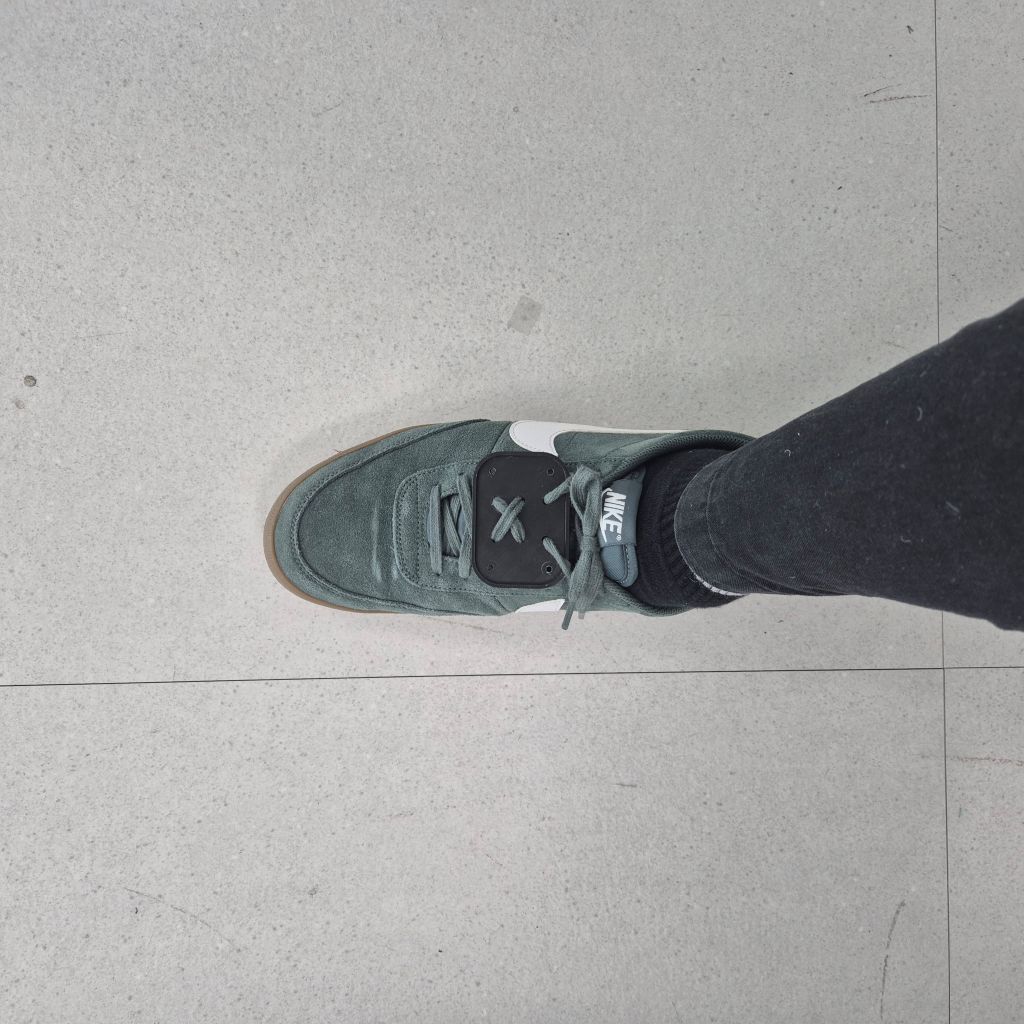
Step 4 — Wear the Shoe and Adjust Lace Tension
Put on the shoe and adjust the shoelace tension evenly for comfort and stability.
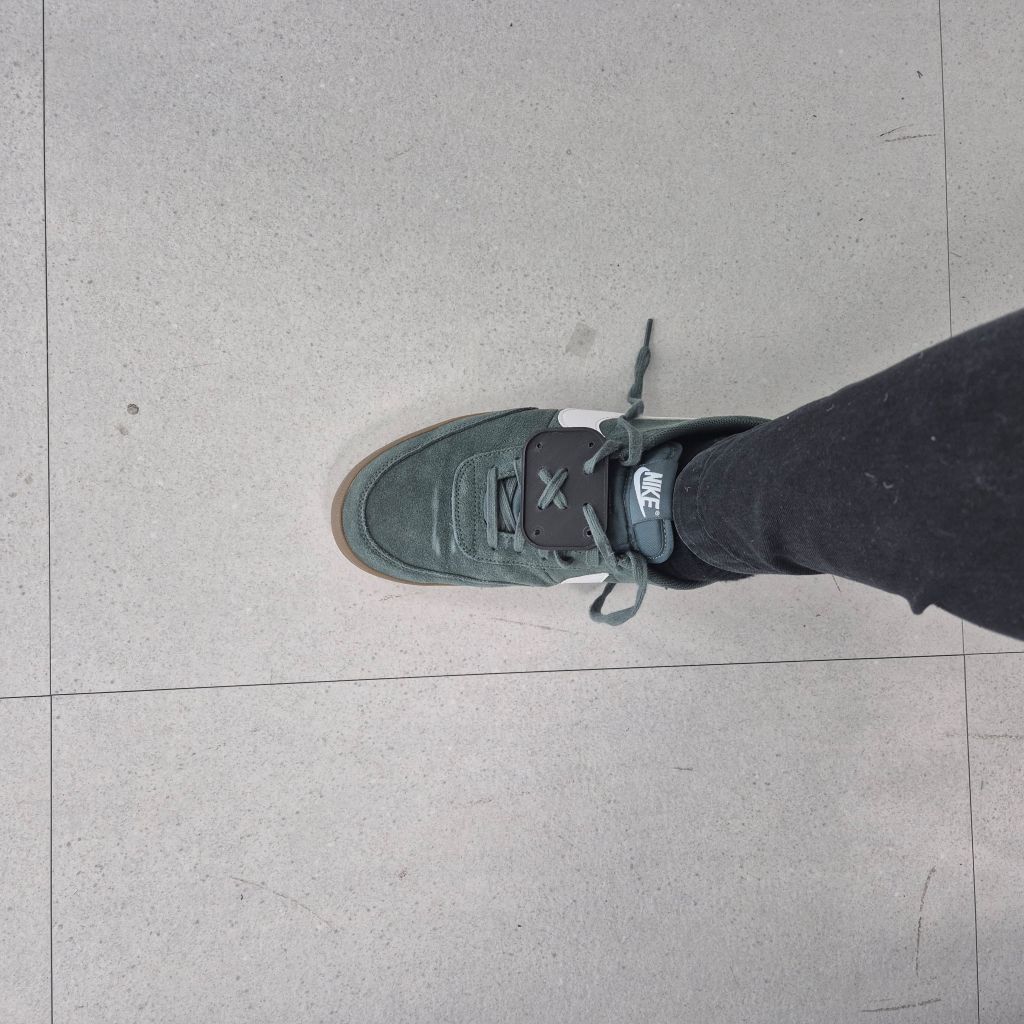
Step 5 — Fasten the Carrier to the Dorsal Interface
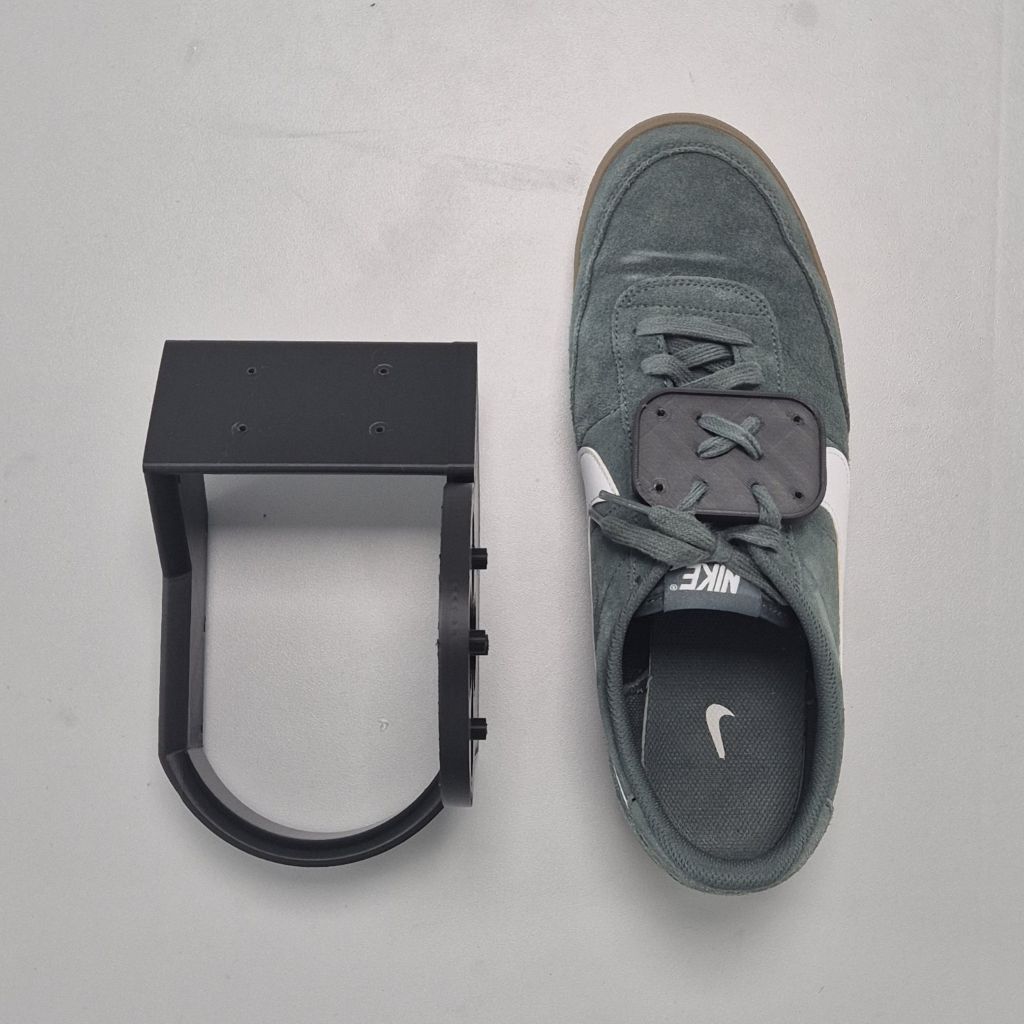
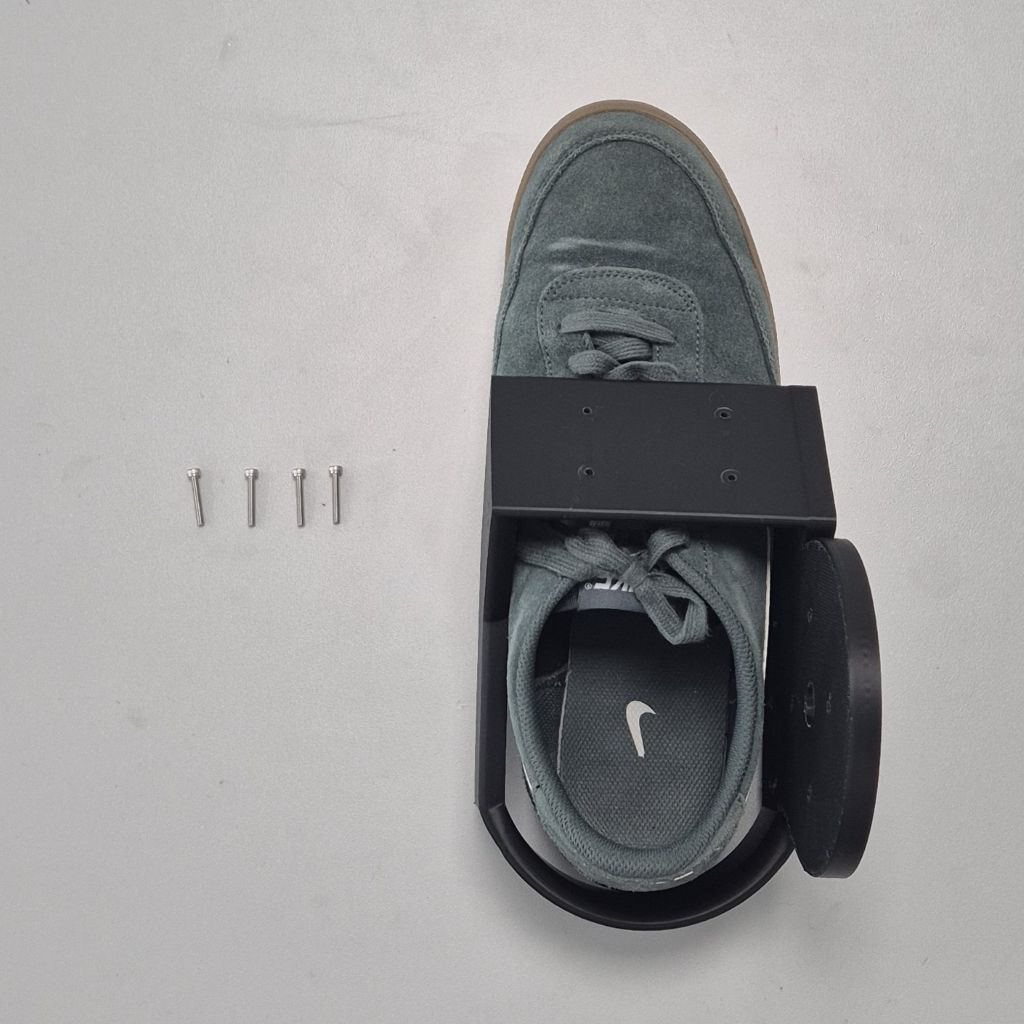
This step is identical to Step 22 of the Assembly Guide.
For clarity, only the Carrier is shown here; the rest of the PrintExo assembly is omitted.

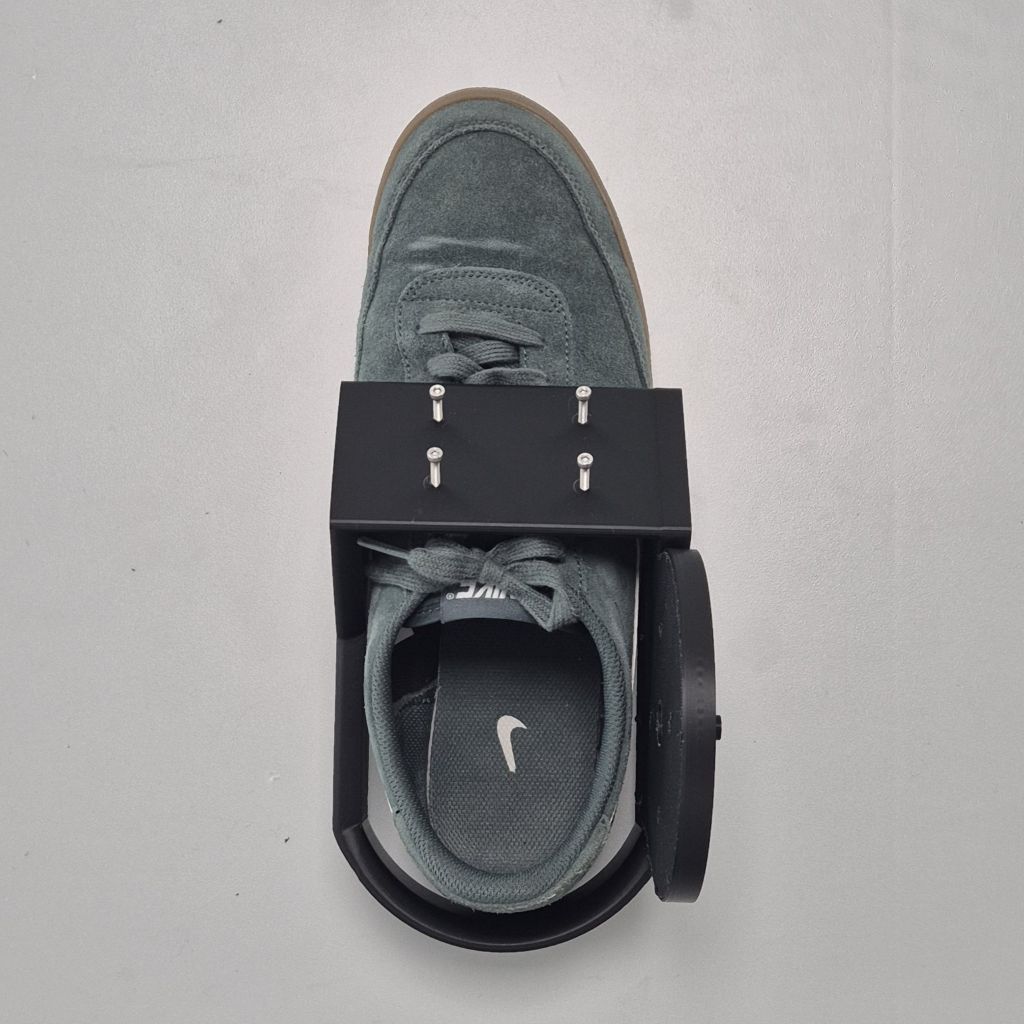

Step 6 — (Optional) Secure the Remaining Shoelace to the Carrier
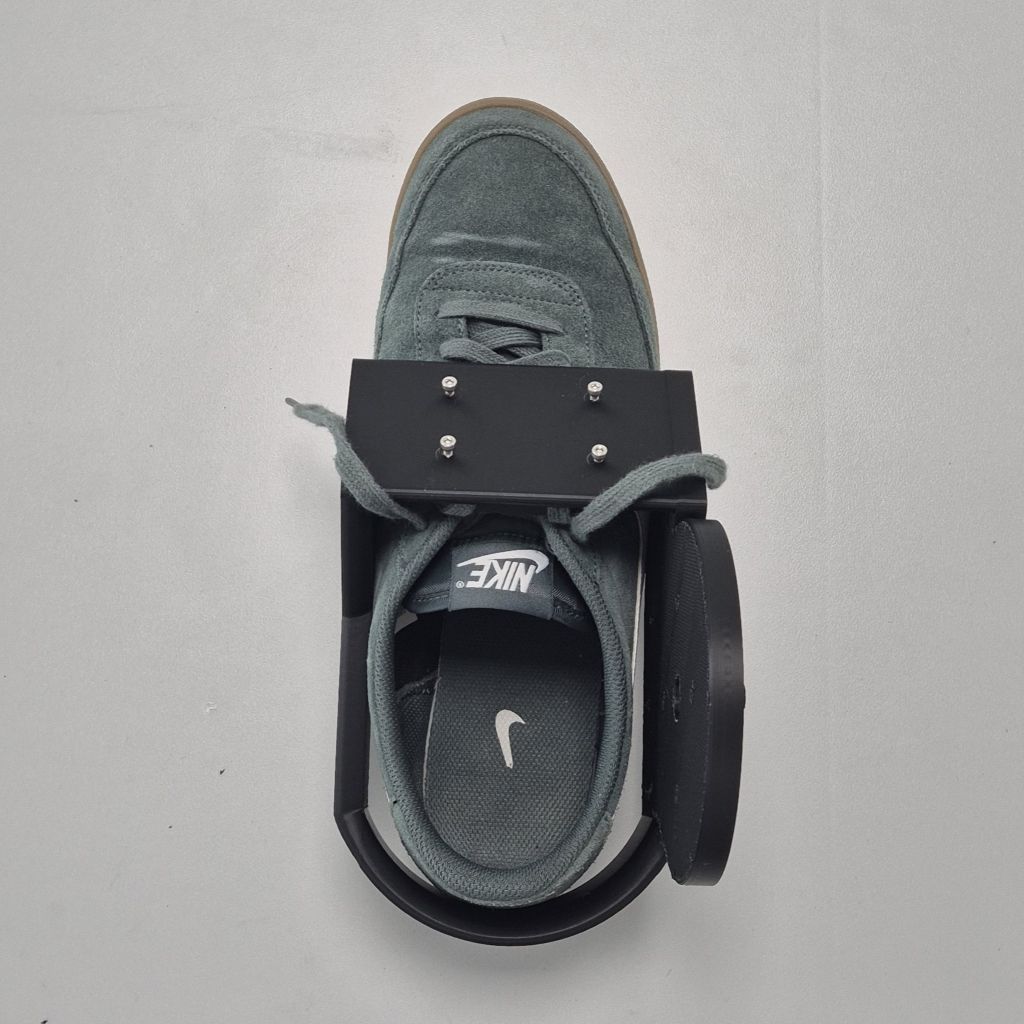
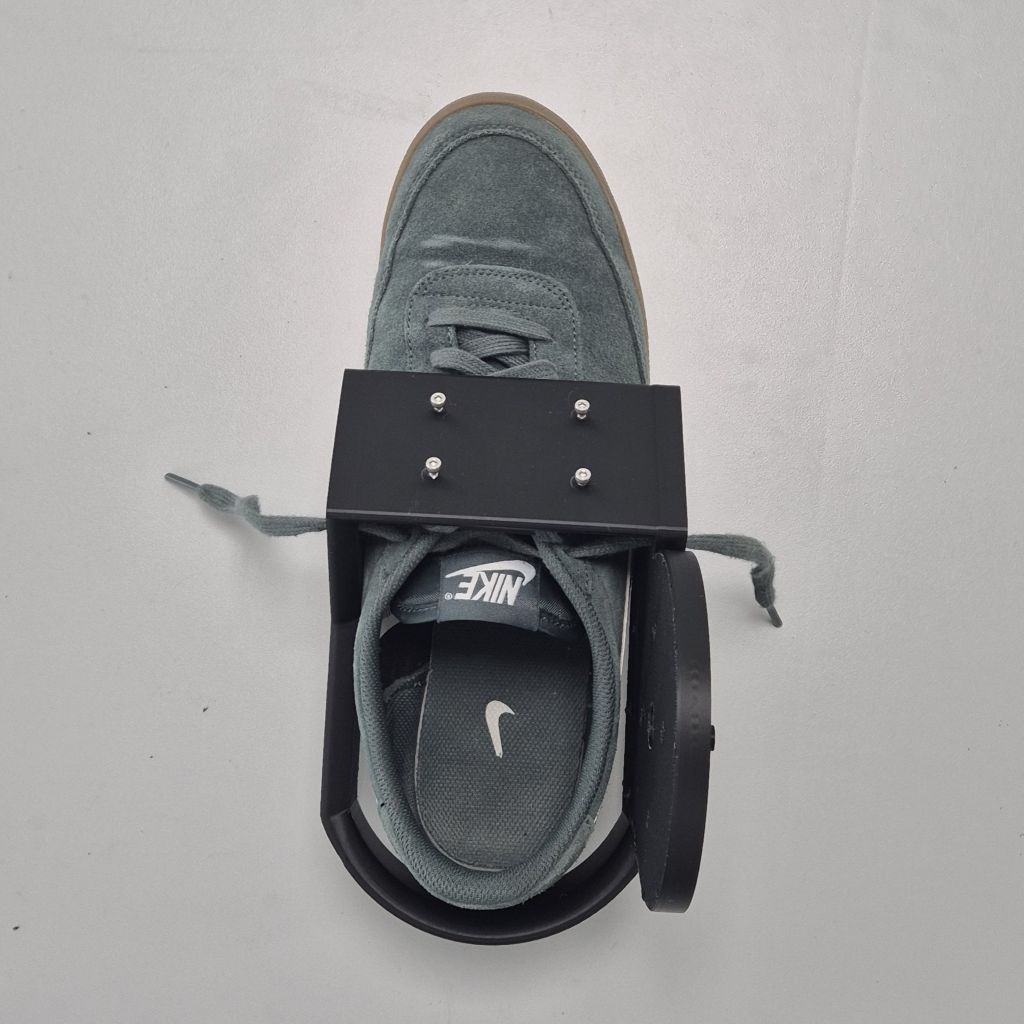
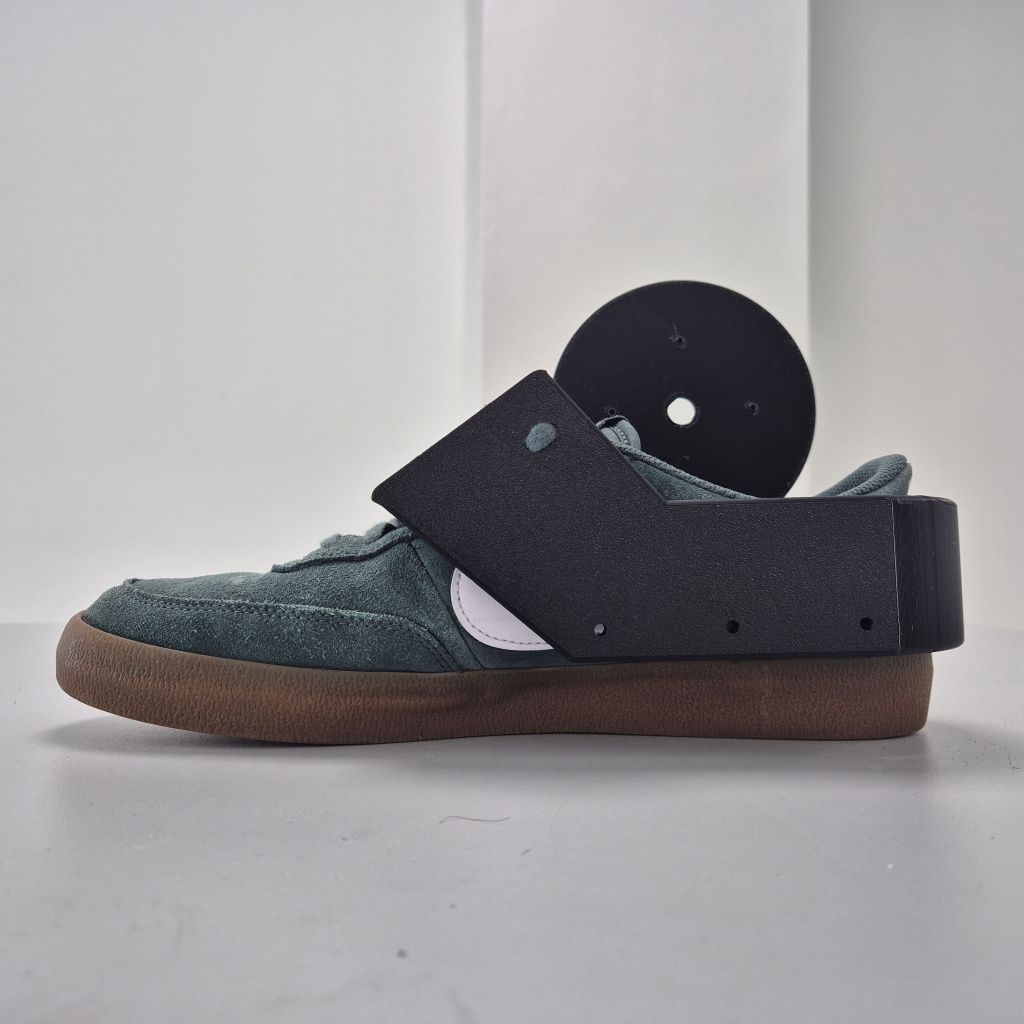
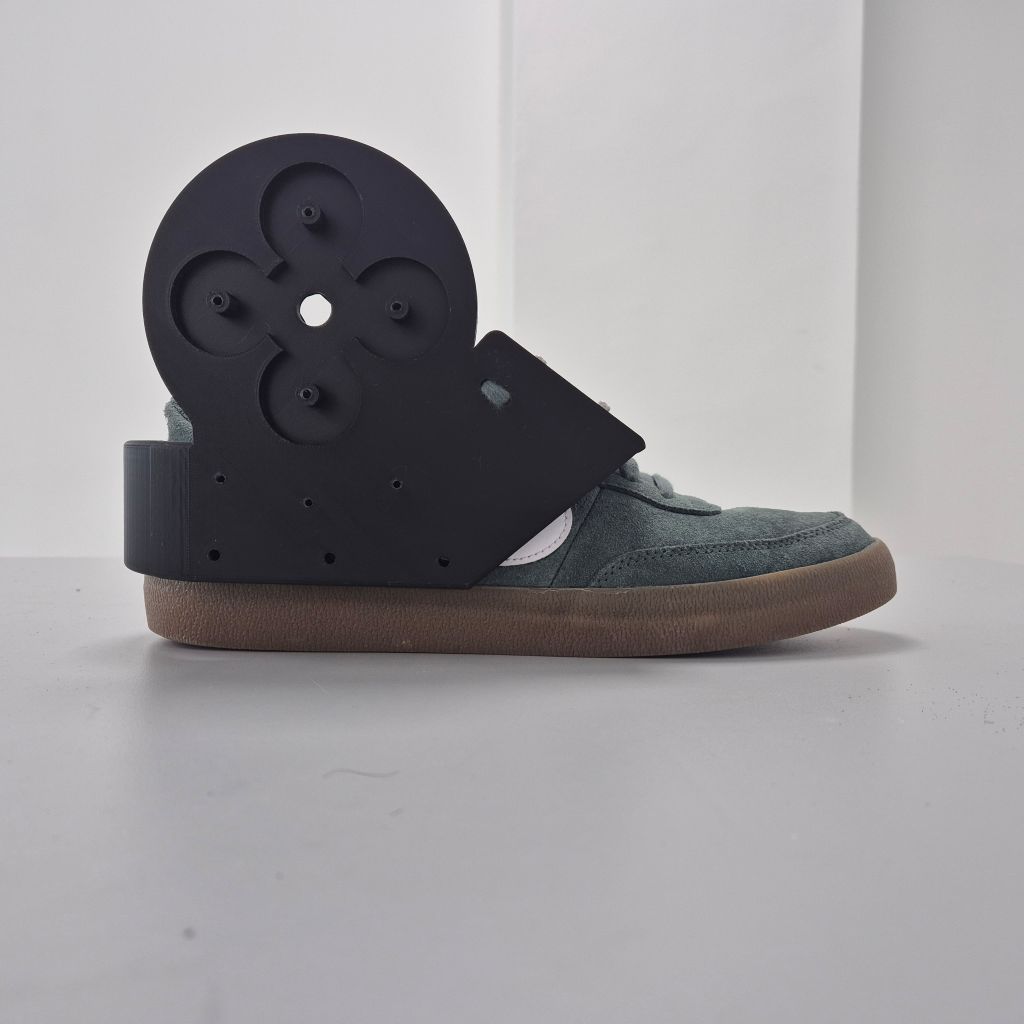
Step 7 — Wear the Shoe and Adjust for Fit
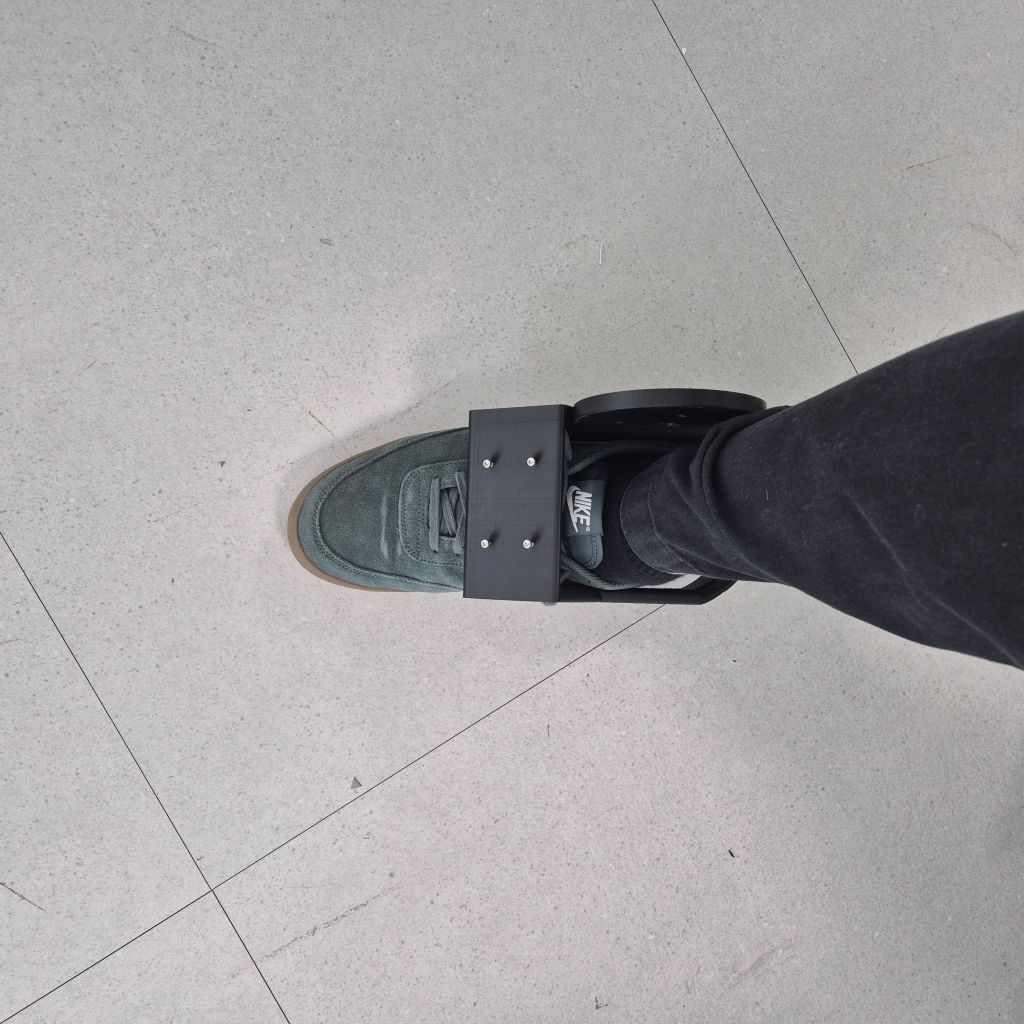
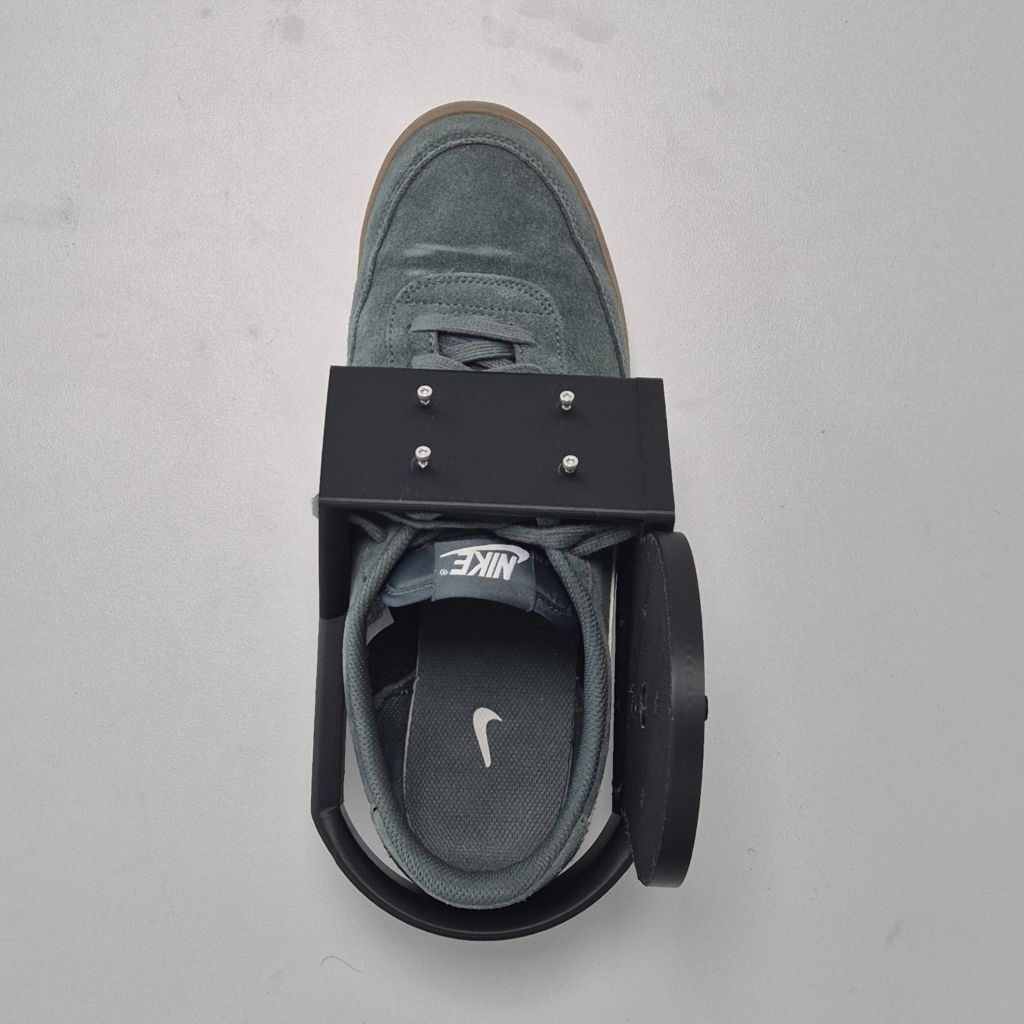
4. Auxilary Shoelace Fixation Steps
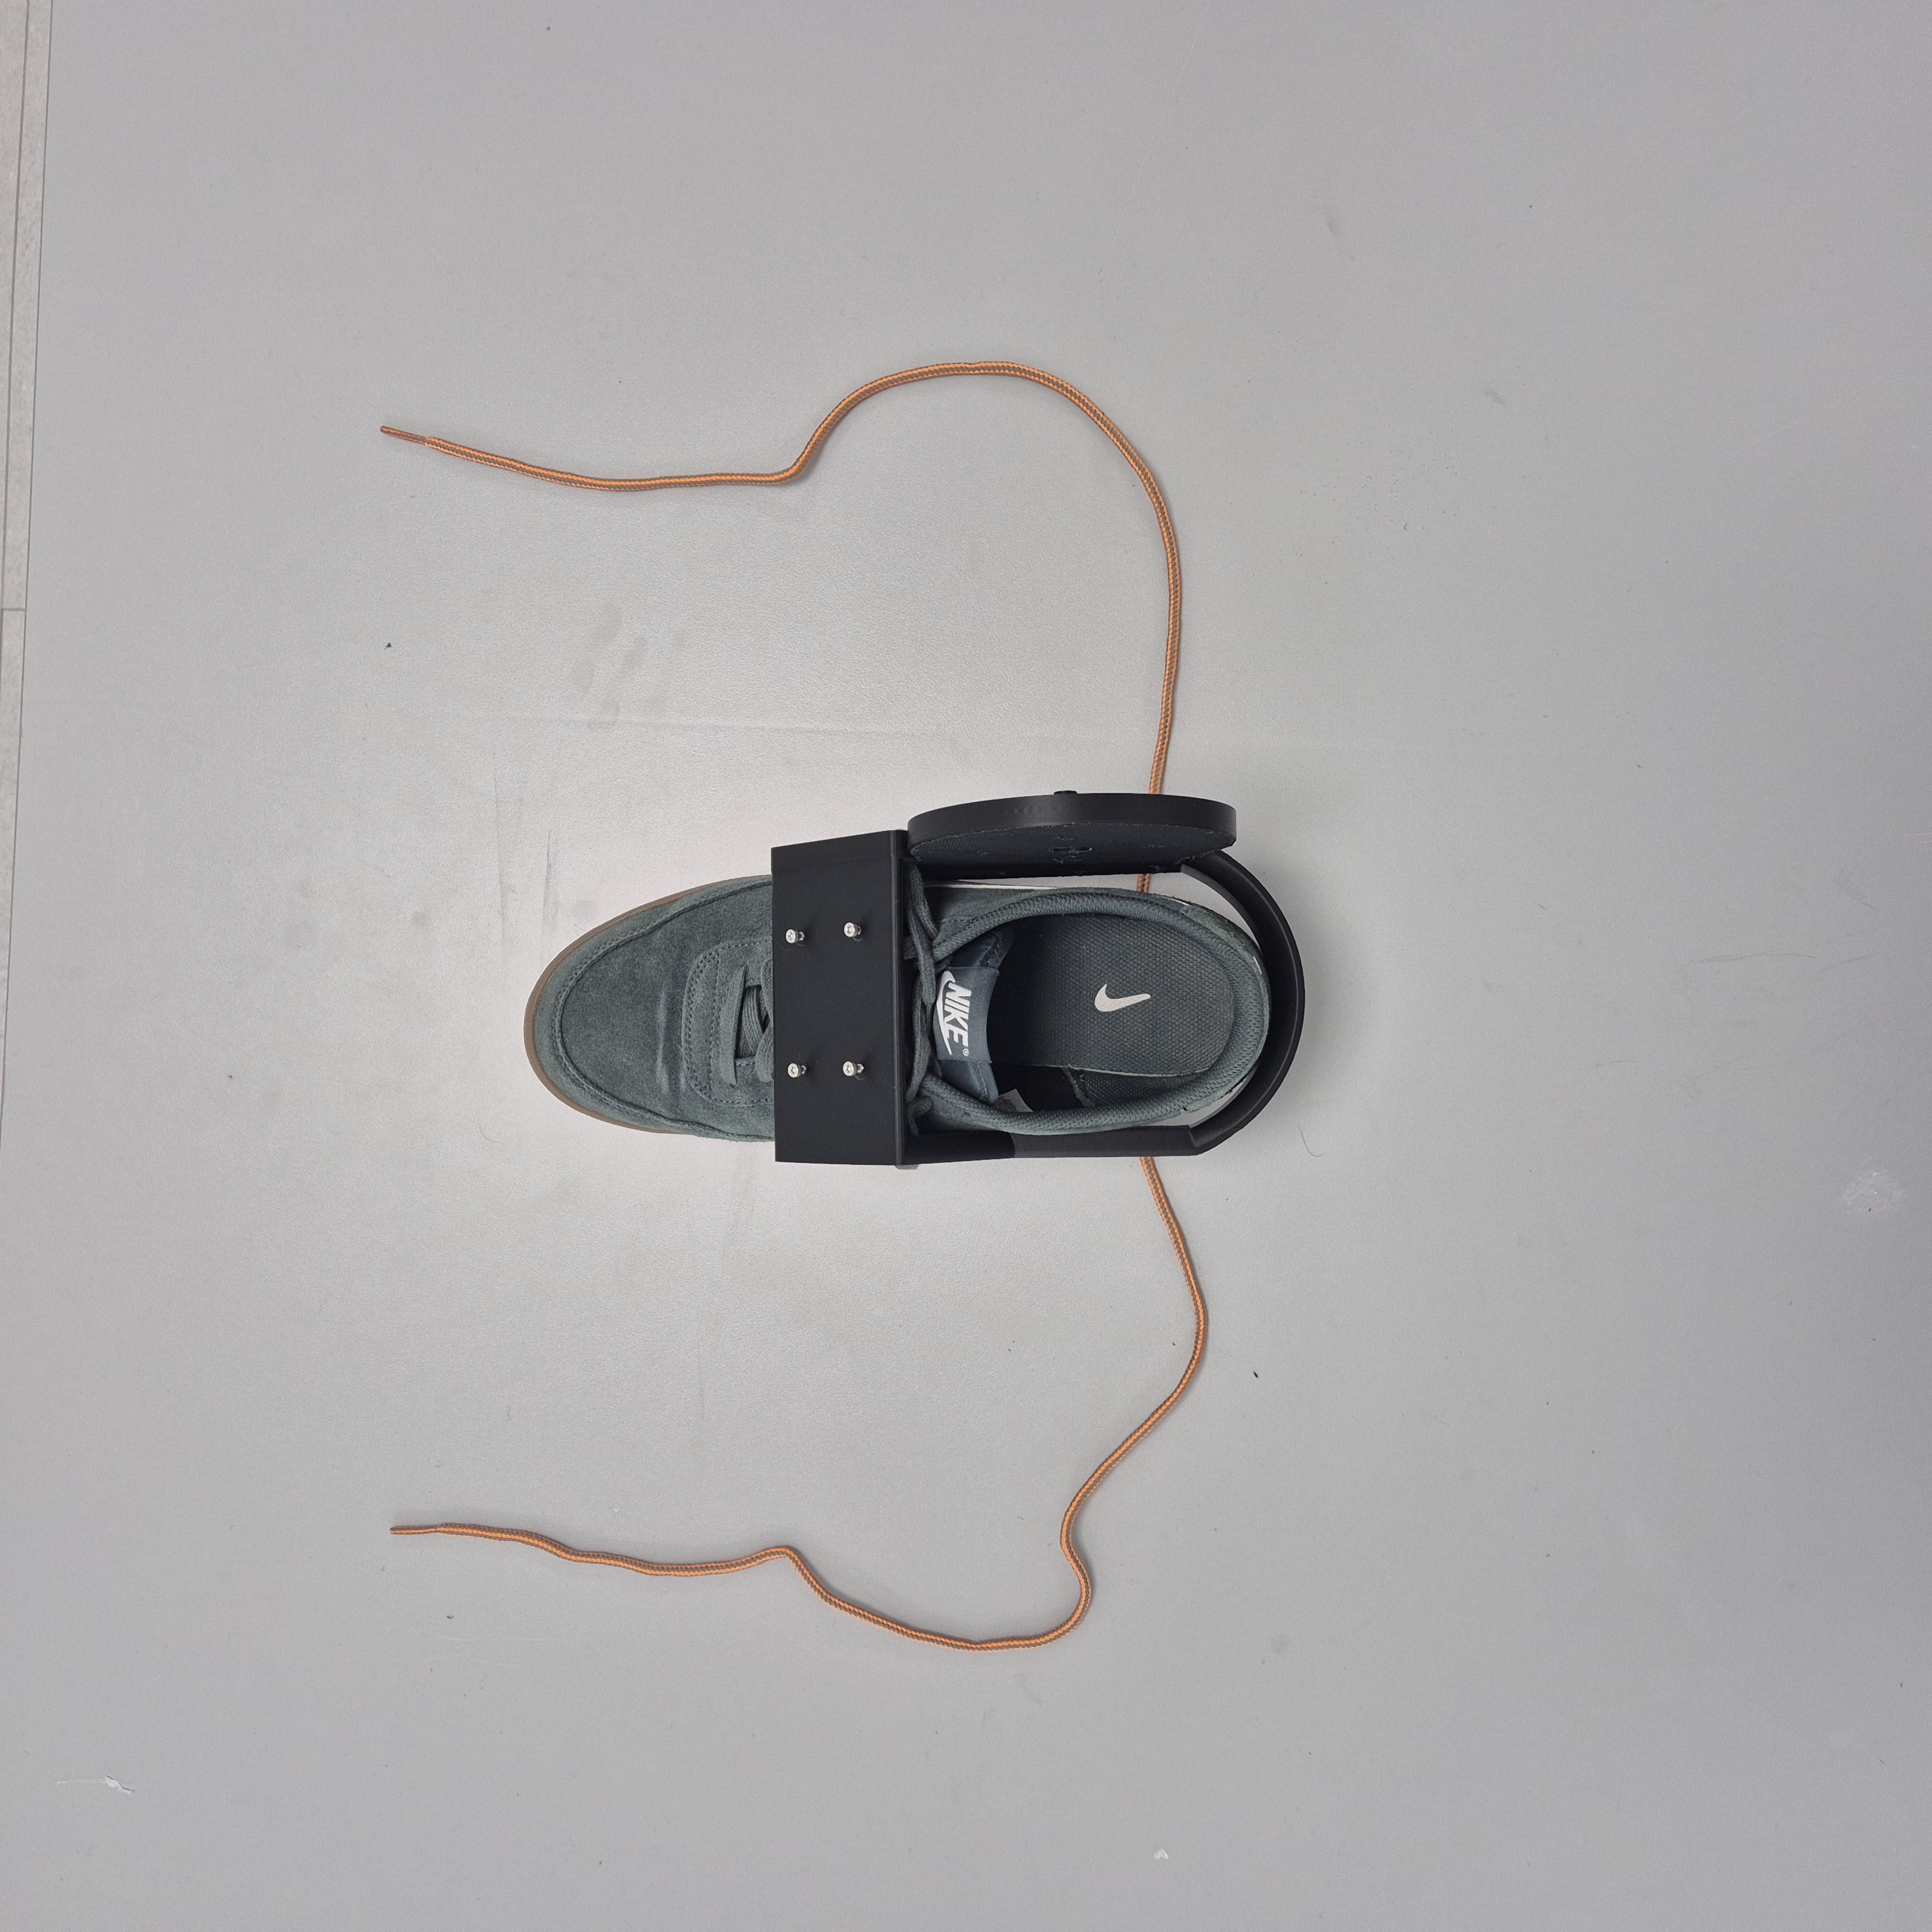
Step 1 — Prepare the Auxiliary Shoelace and Shoe
Prepare the auxiliary shoelace and the shoe with the carrier already attached.
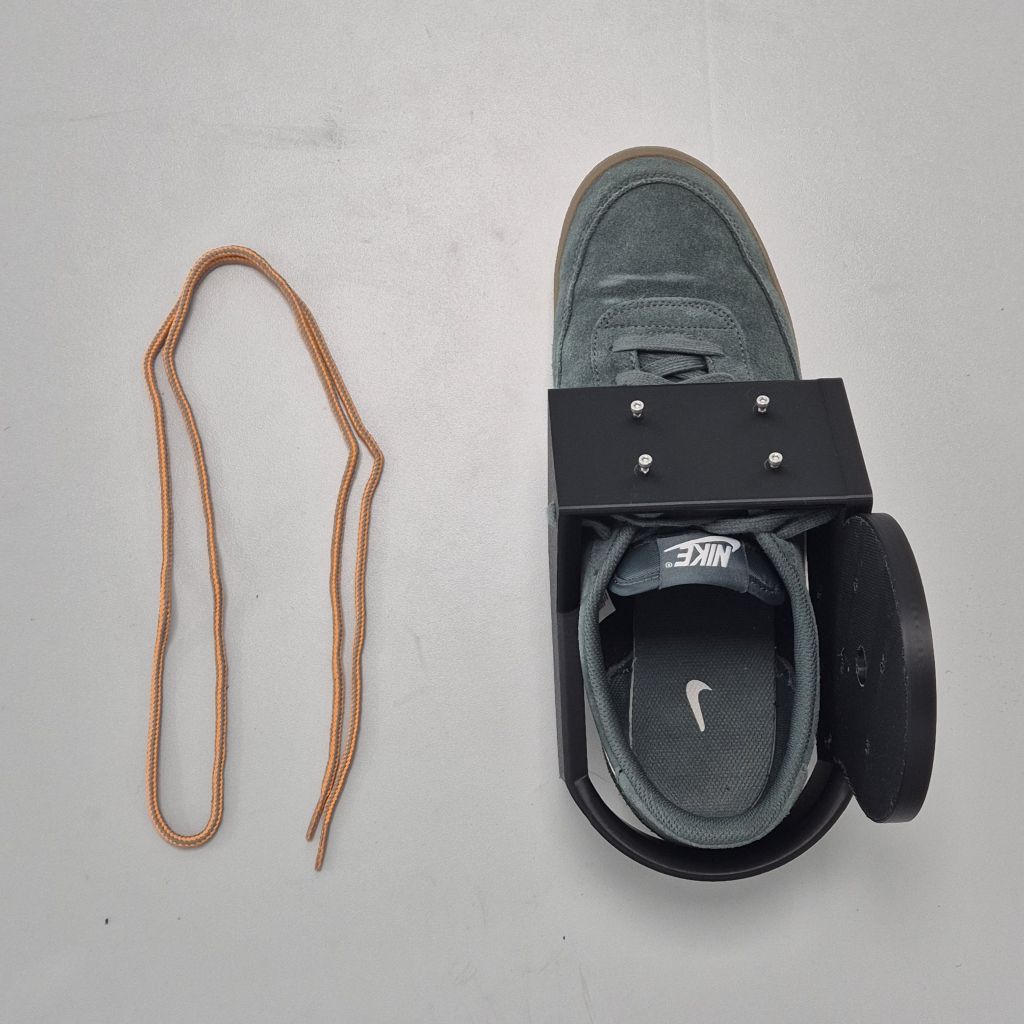
Step 2 — Center the Auxiliary Shoelace
Place the auxiliary shoelace at its midpoint, as shown.
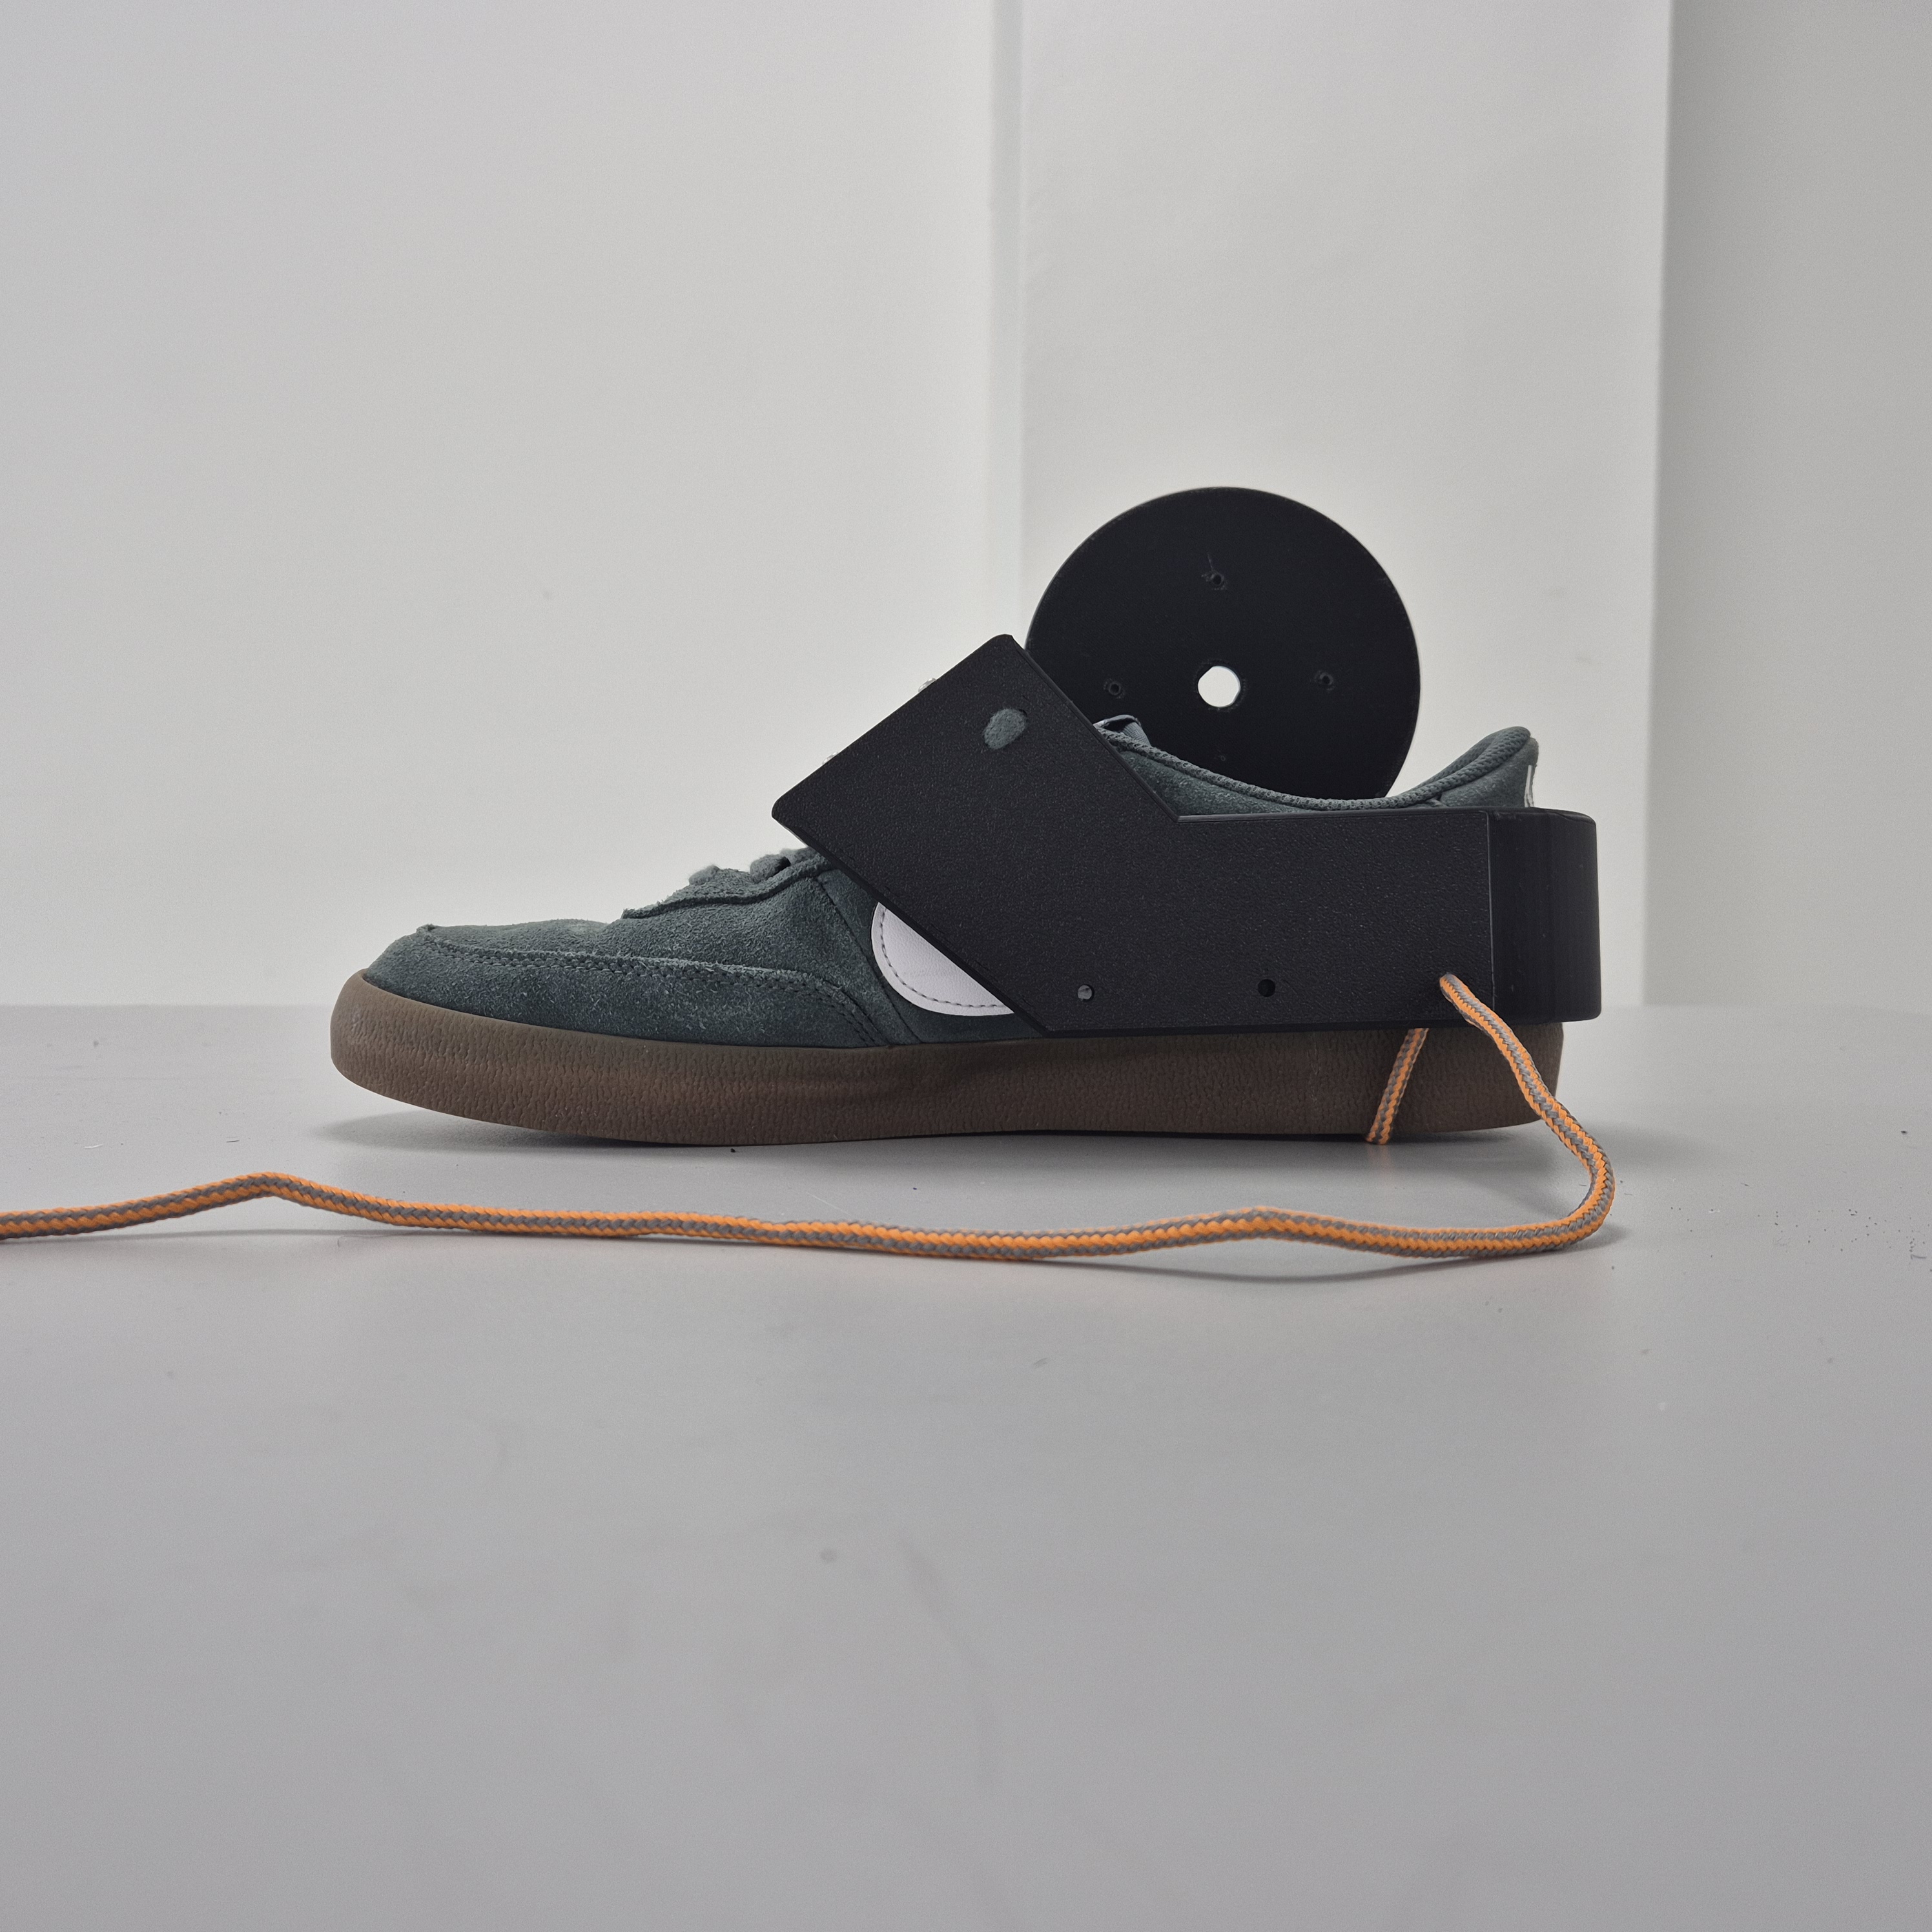
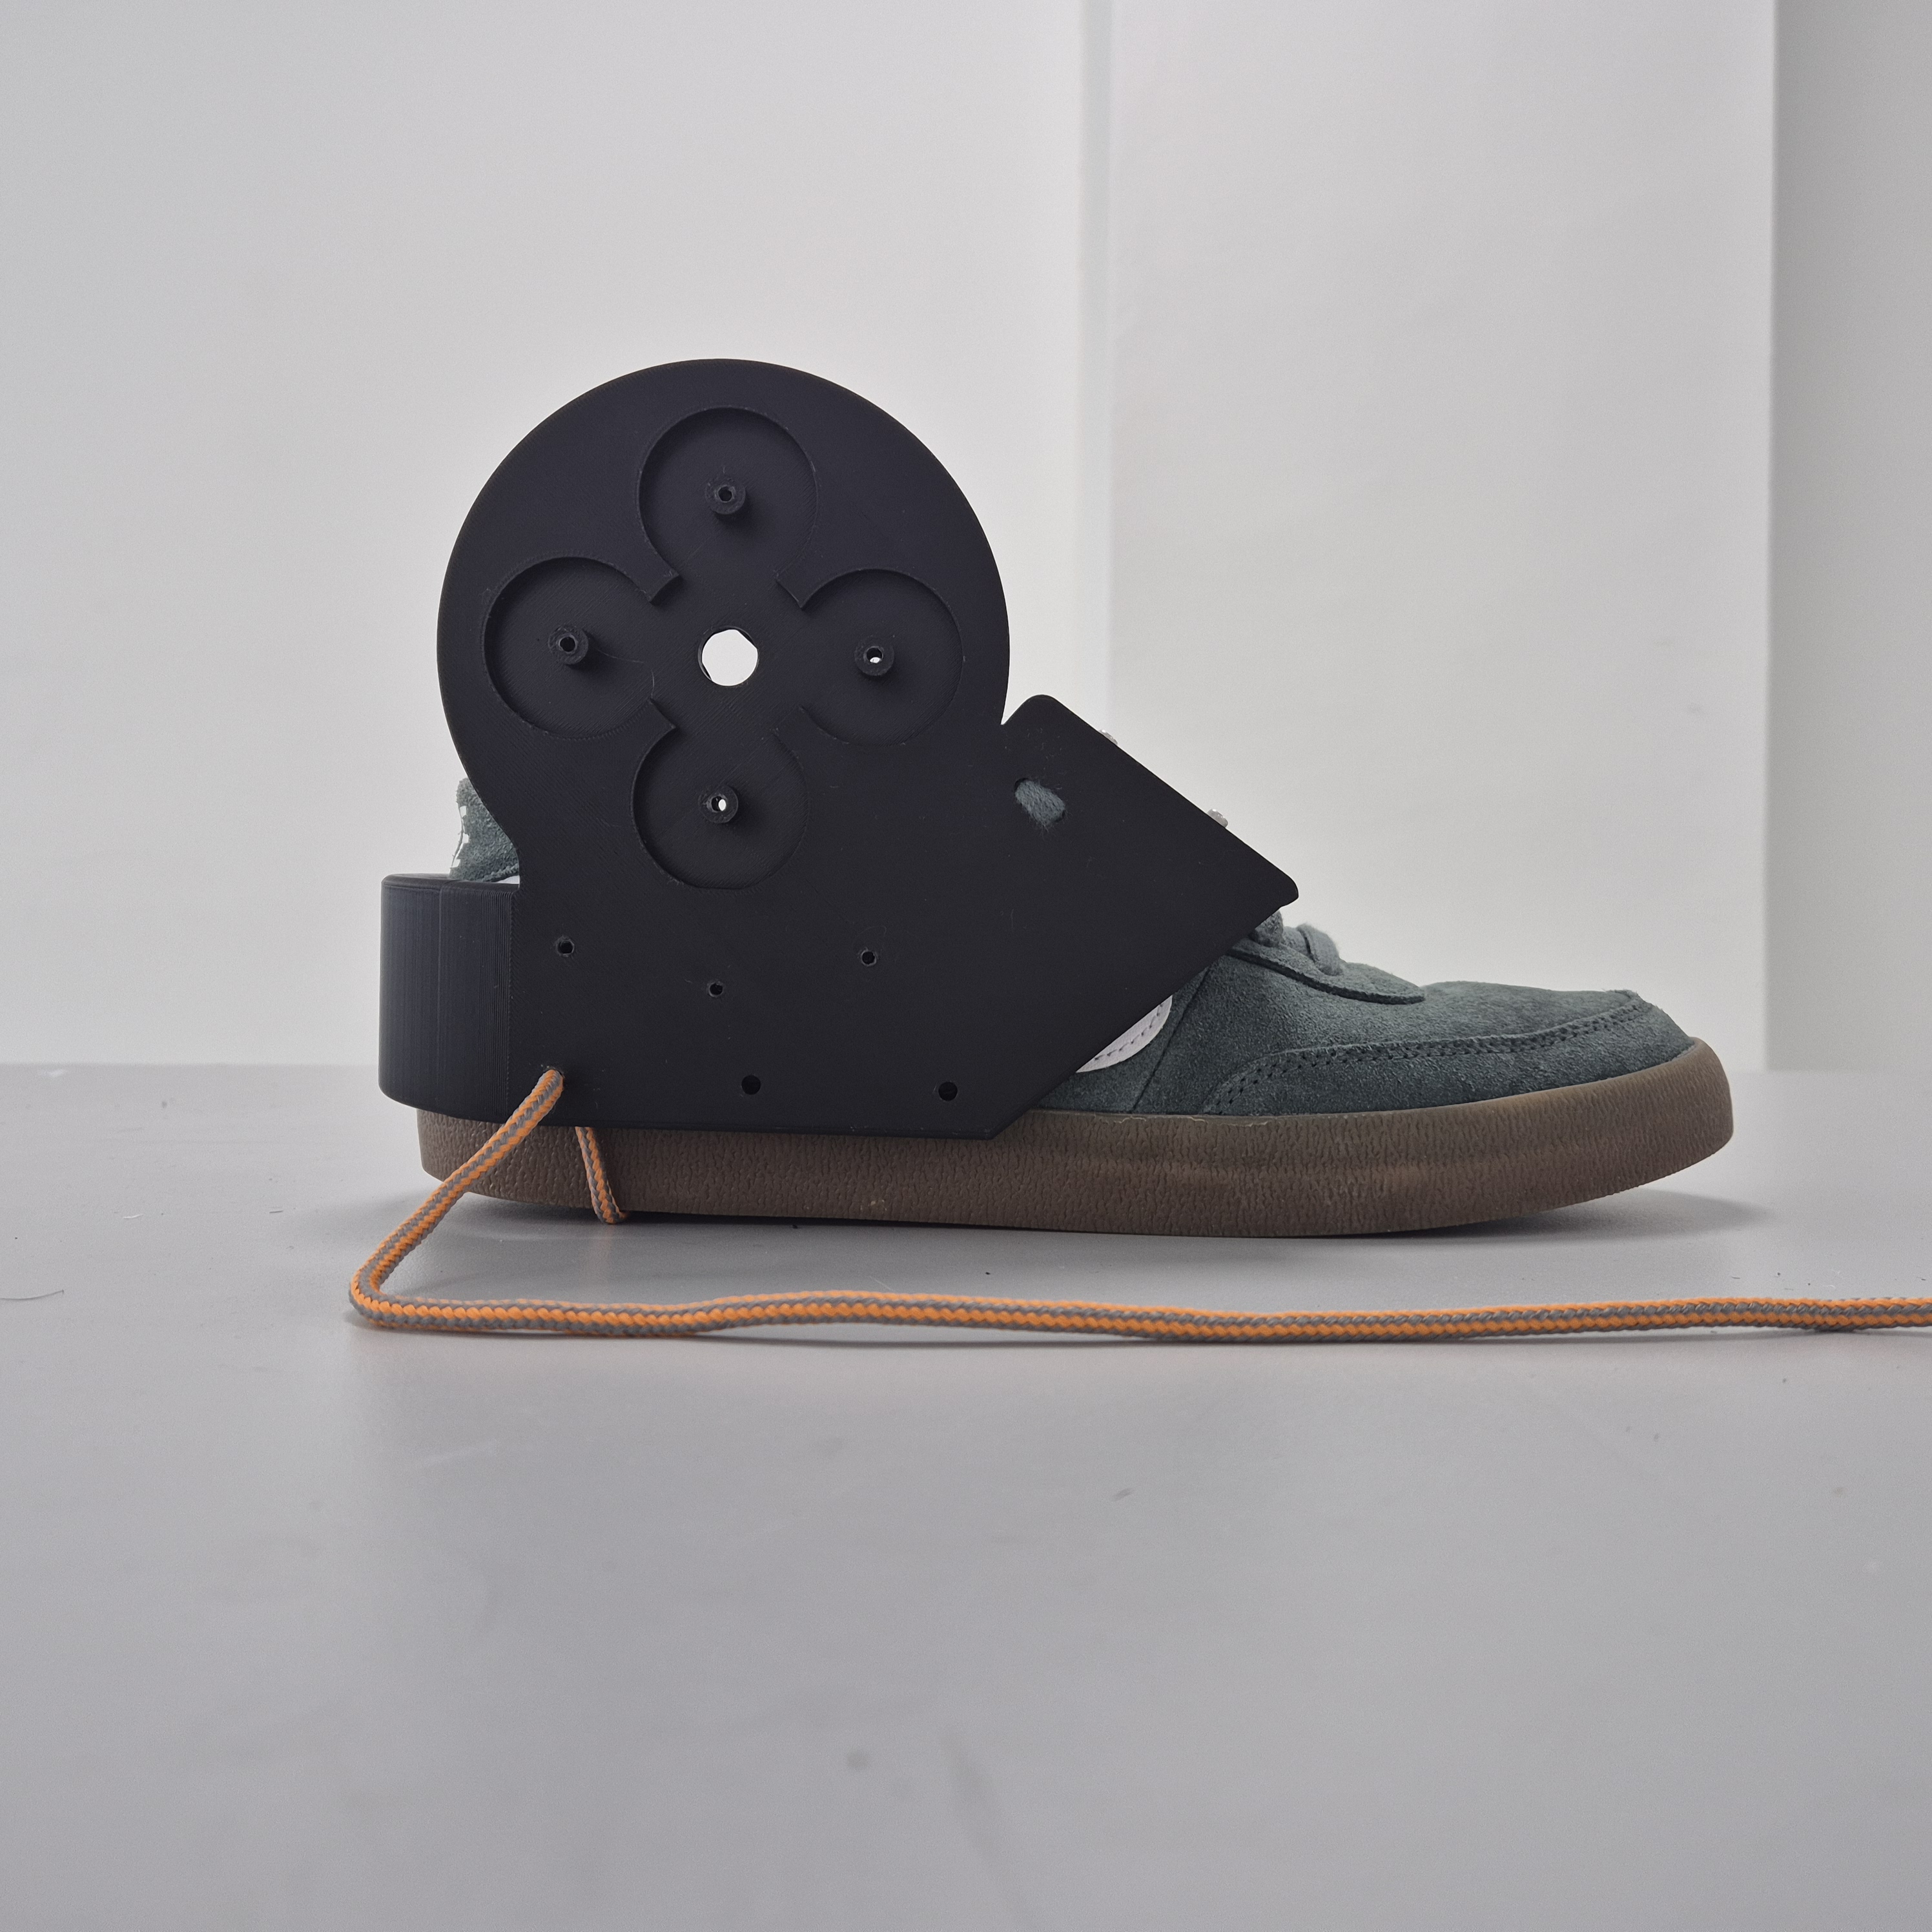
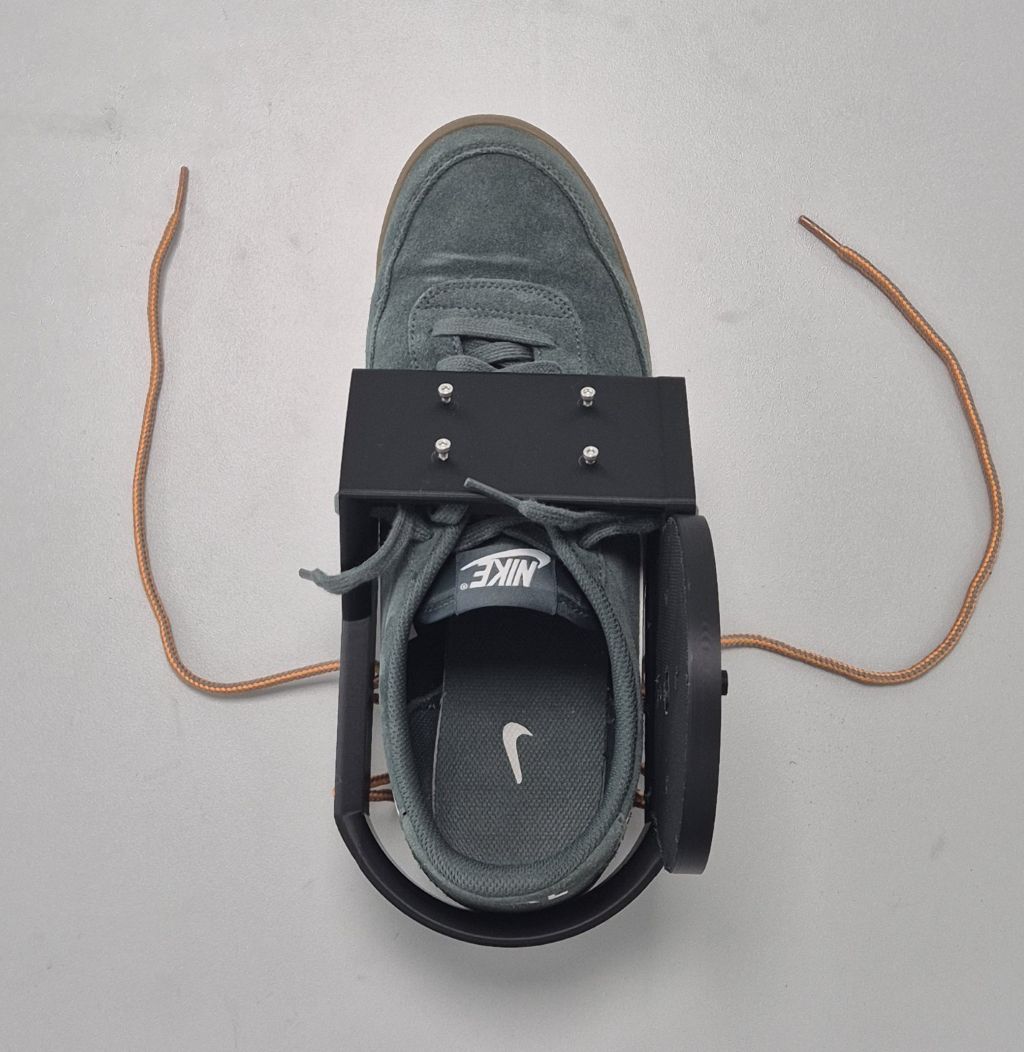
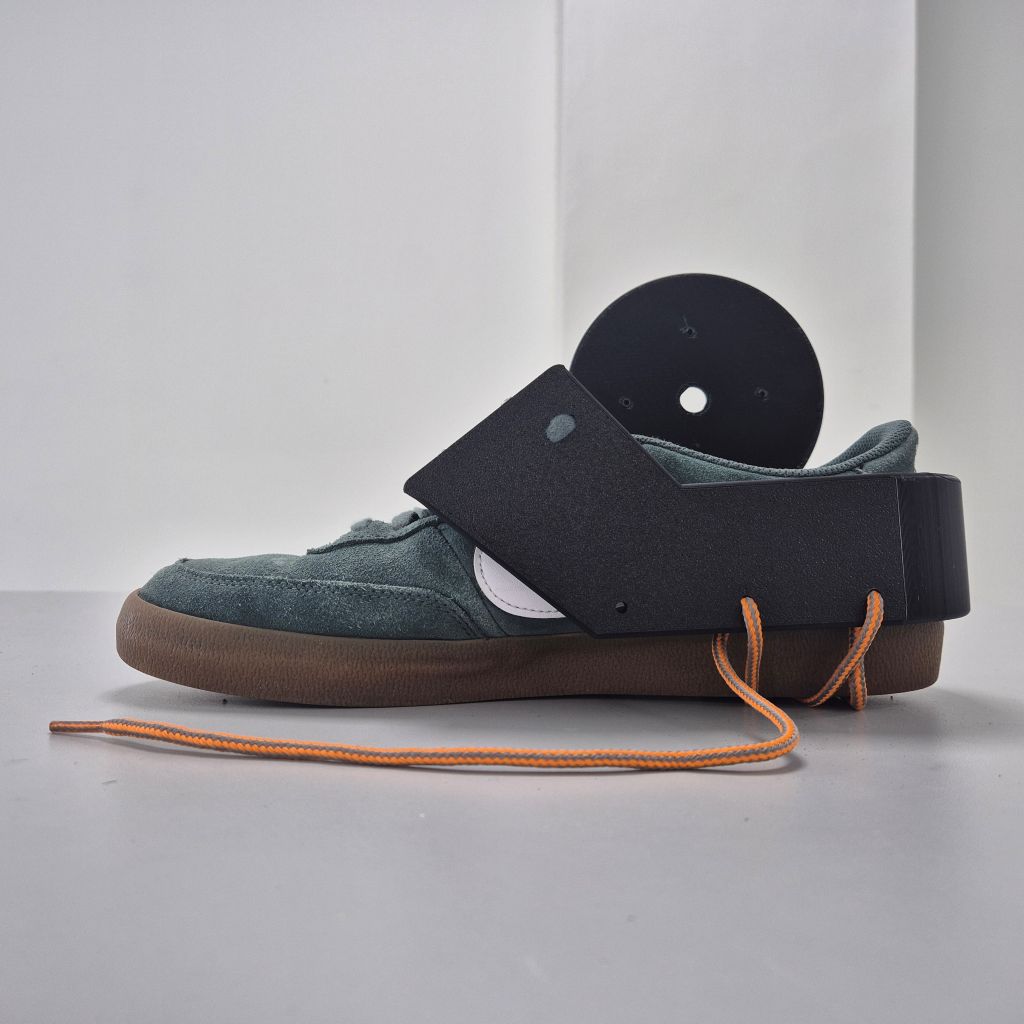
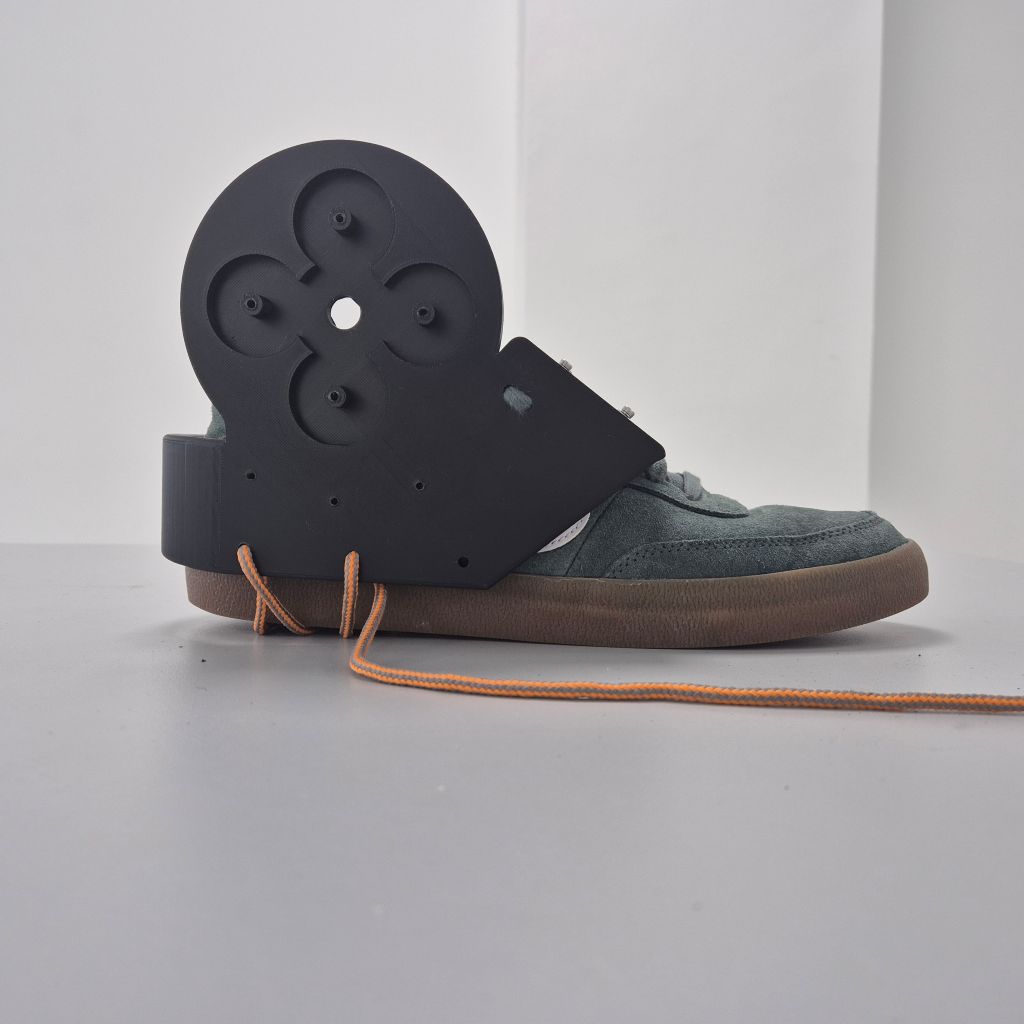
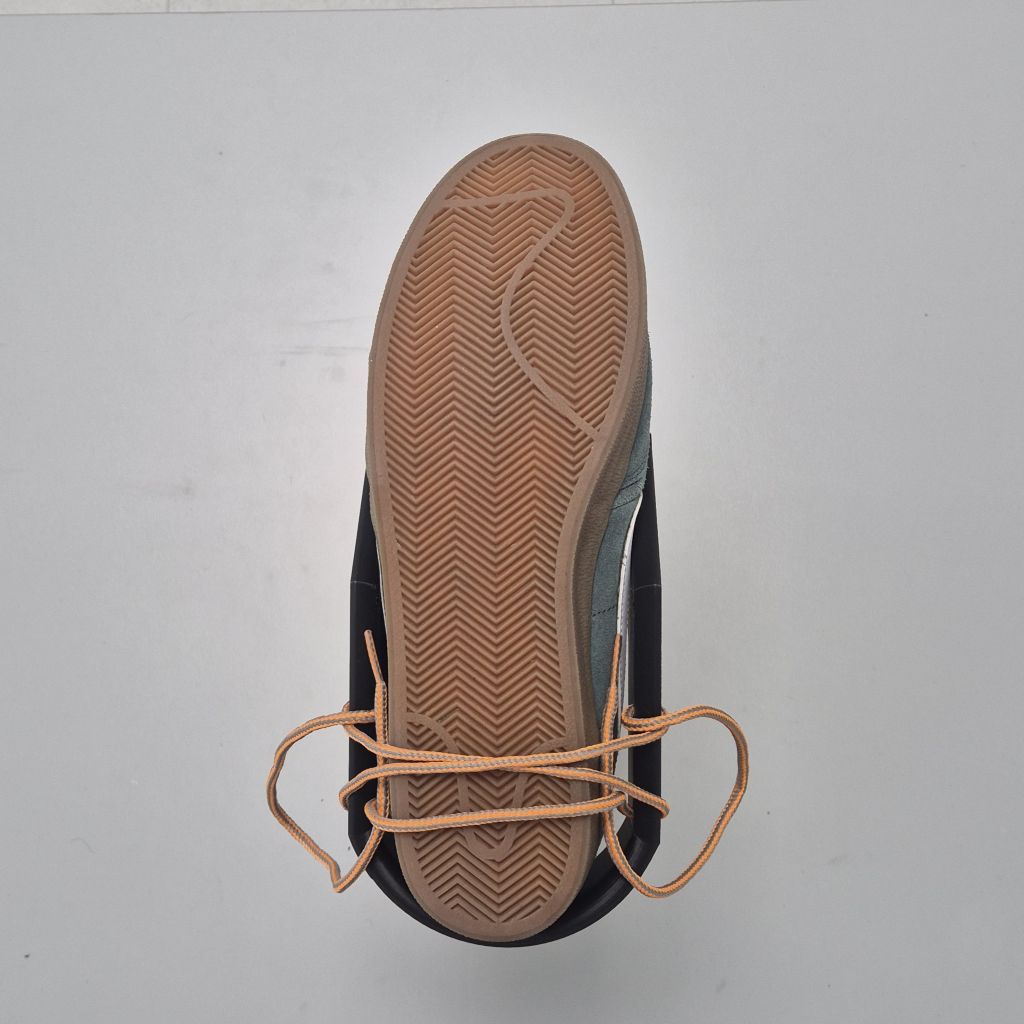
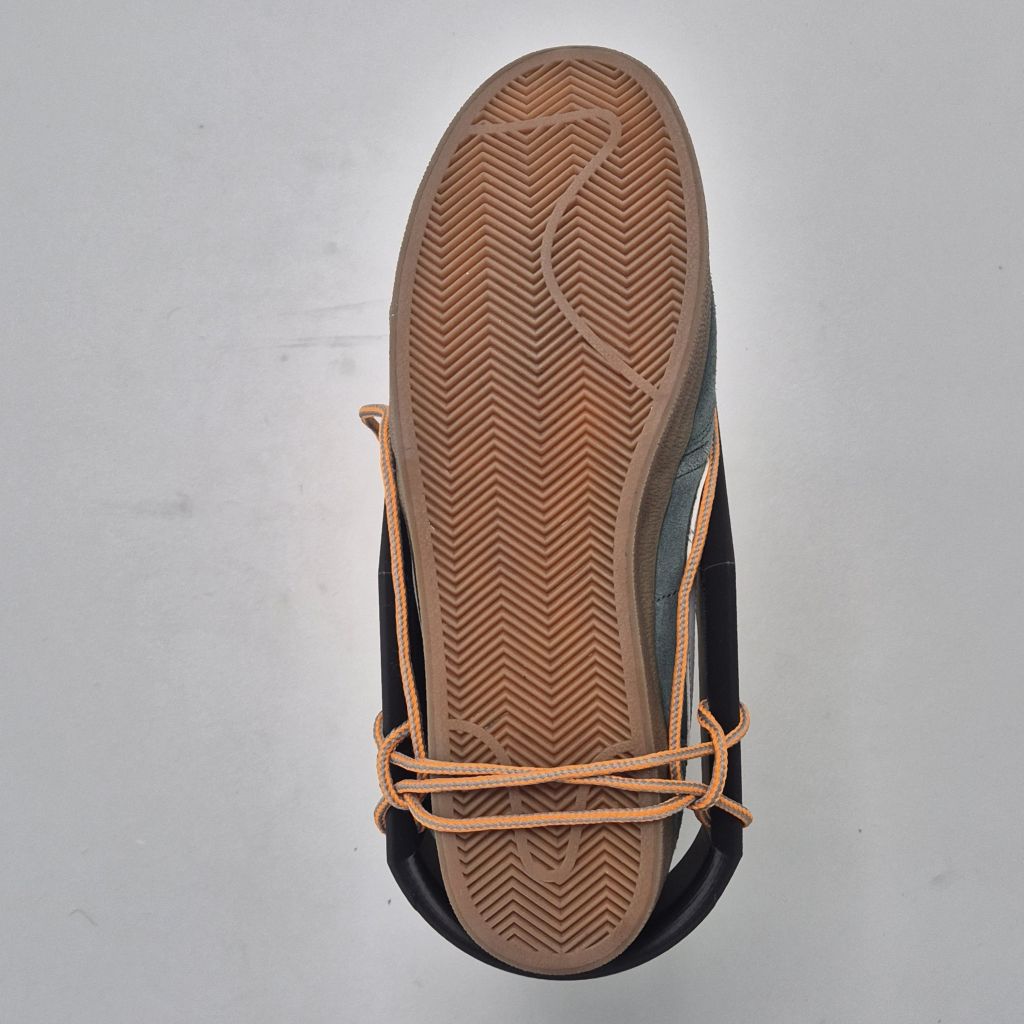
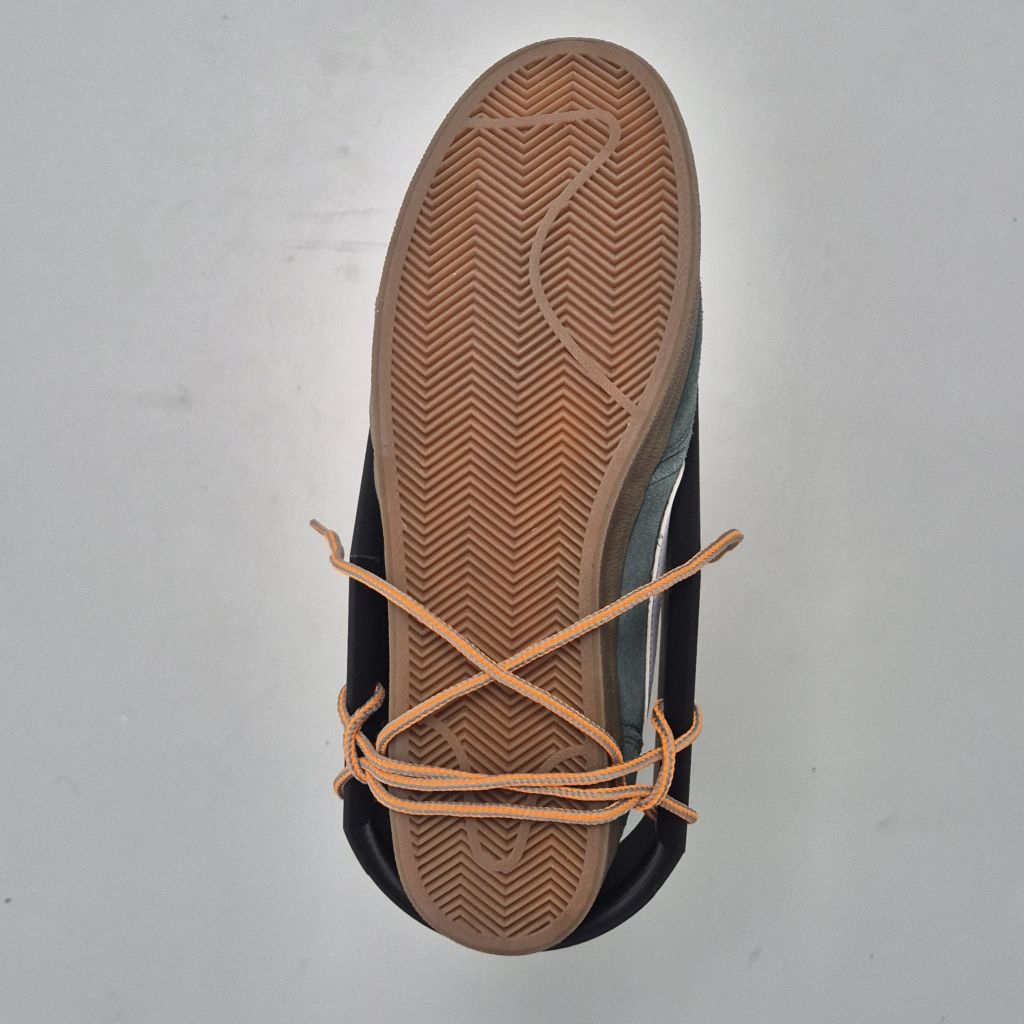
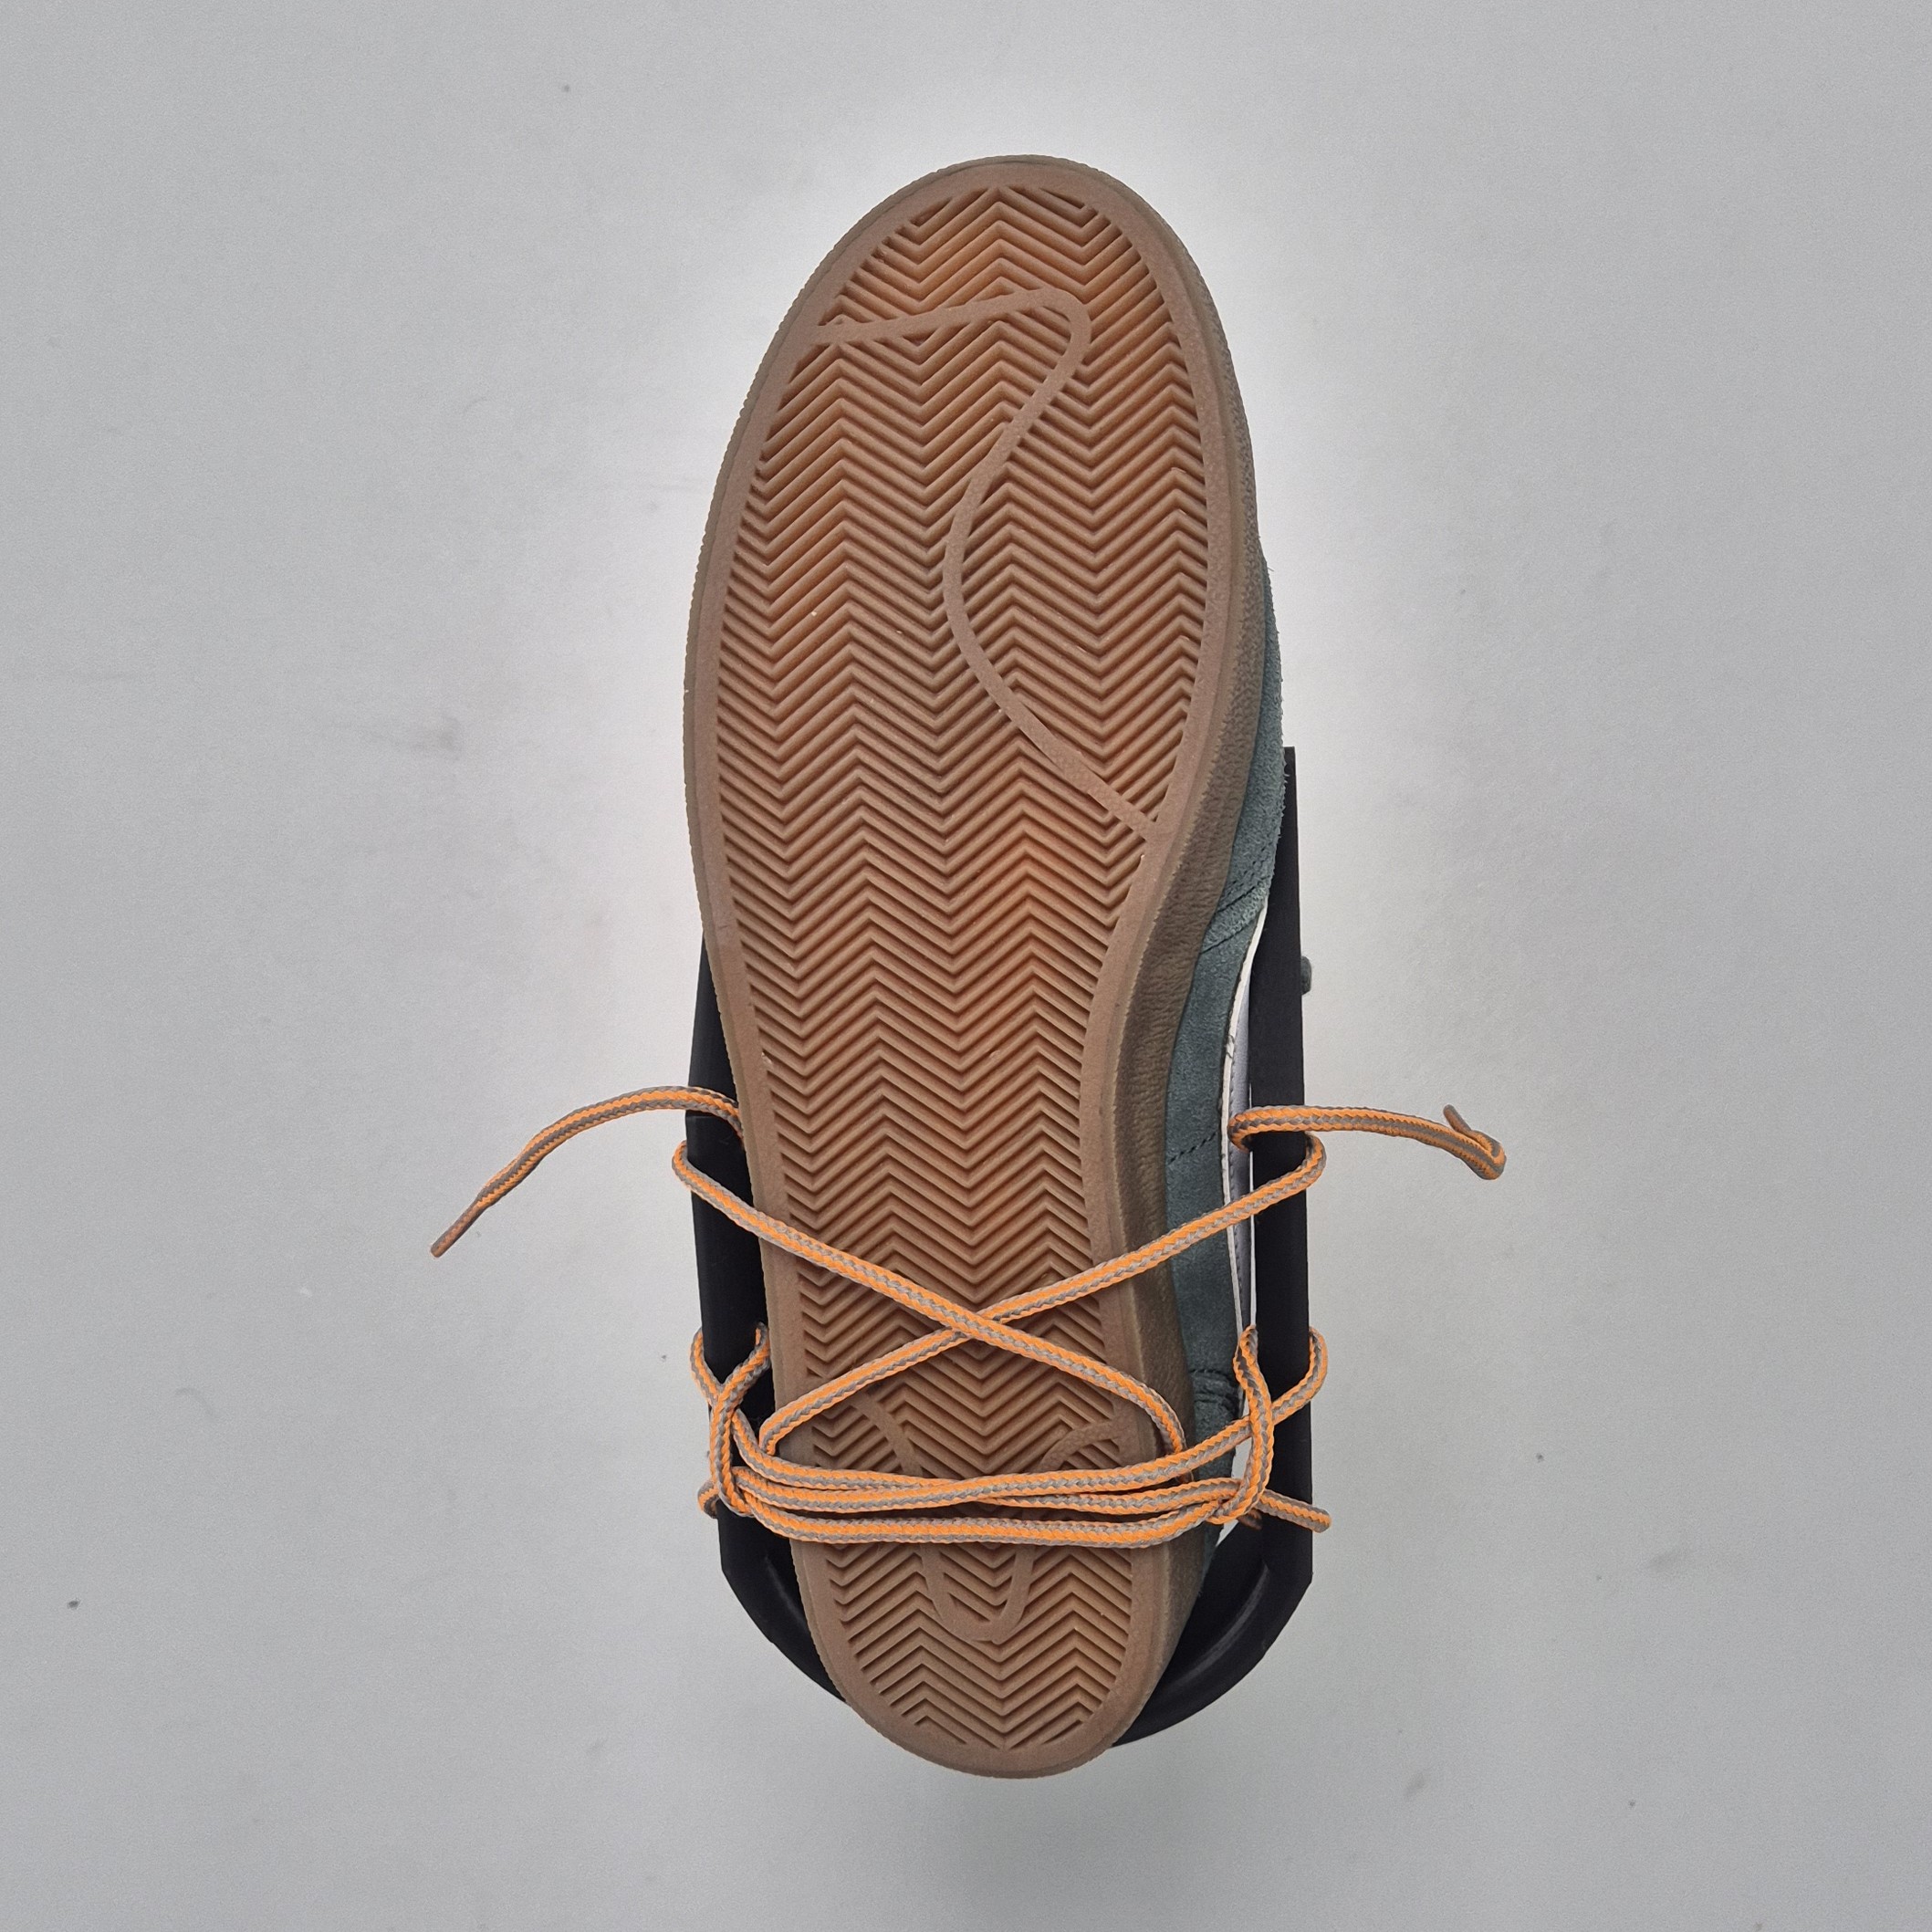
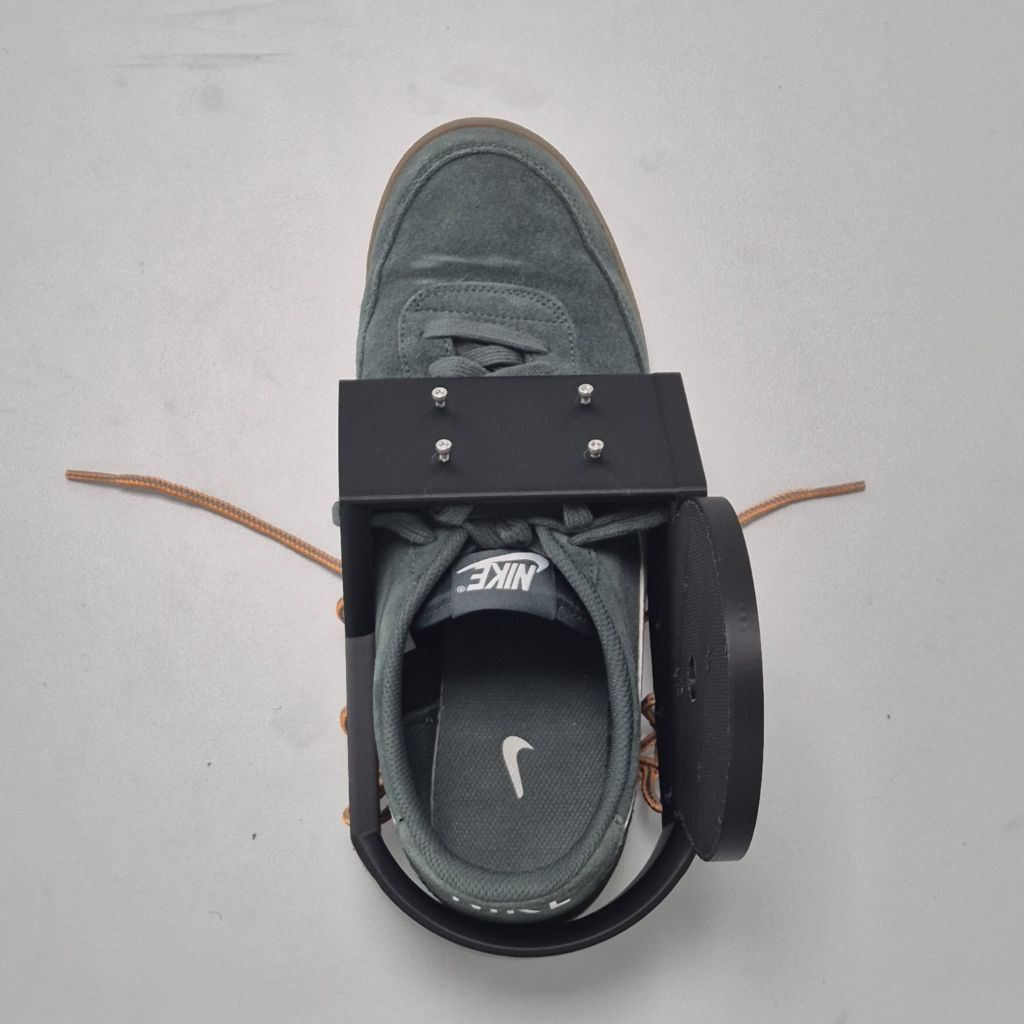
Step 3 — Route the Auxiliary Shoelace
Route the auxiliary shoelace in the order shown below.
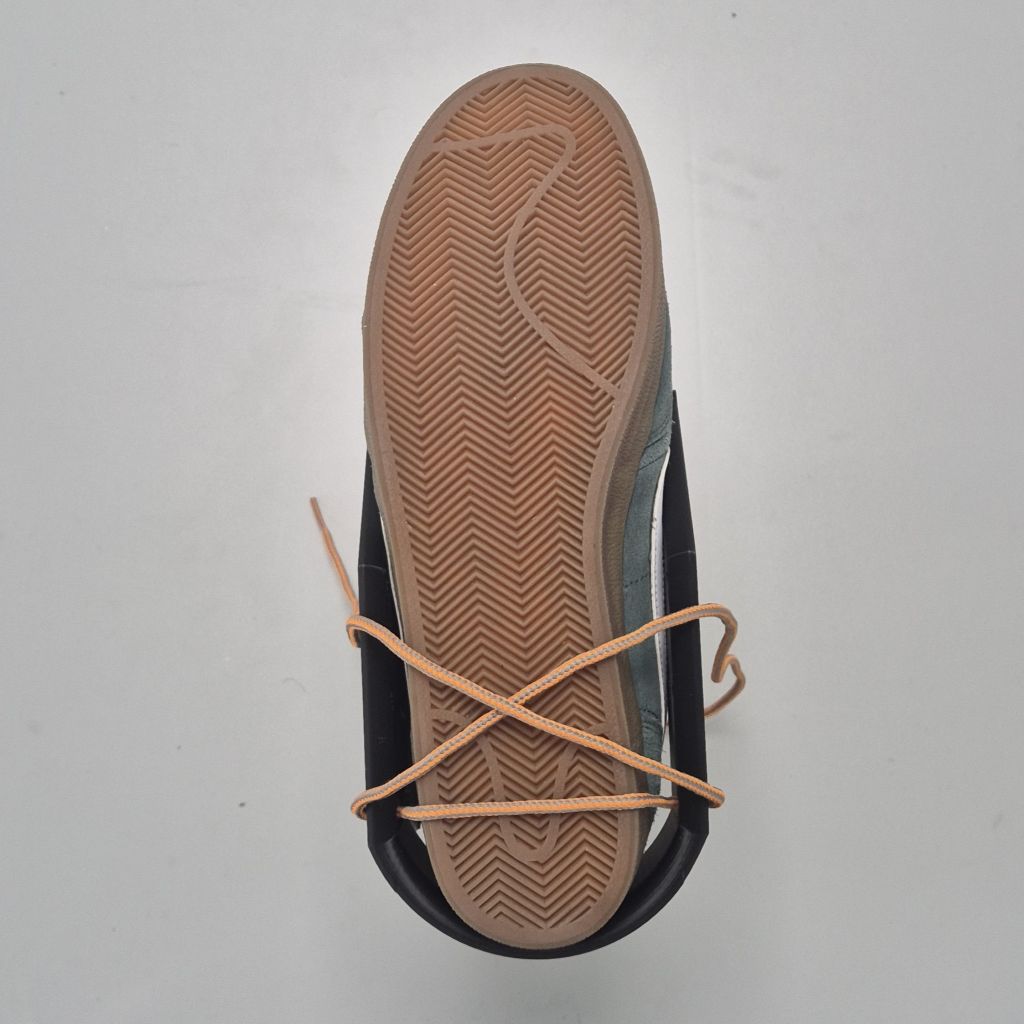

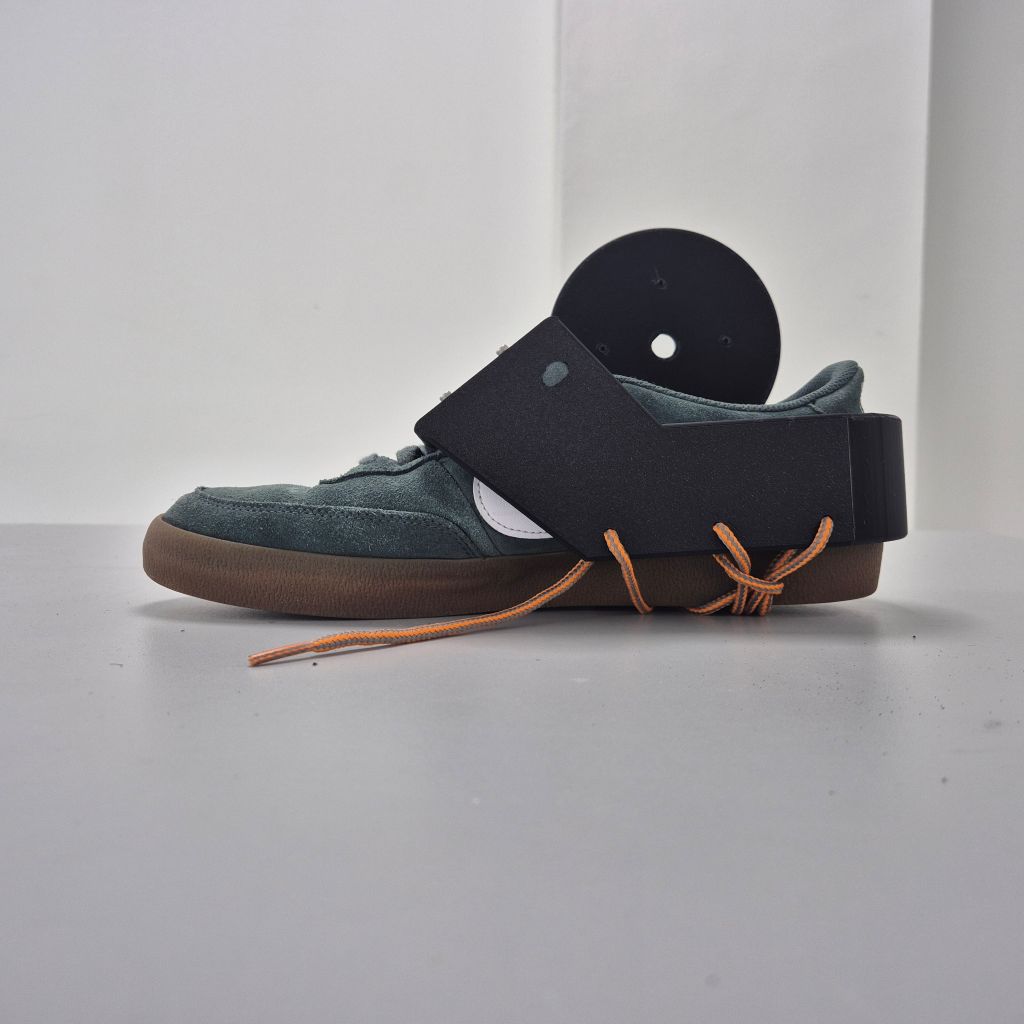
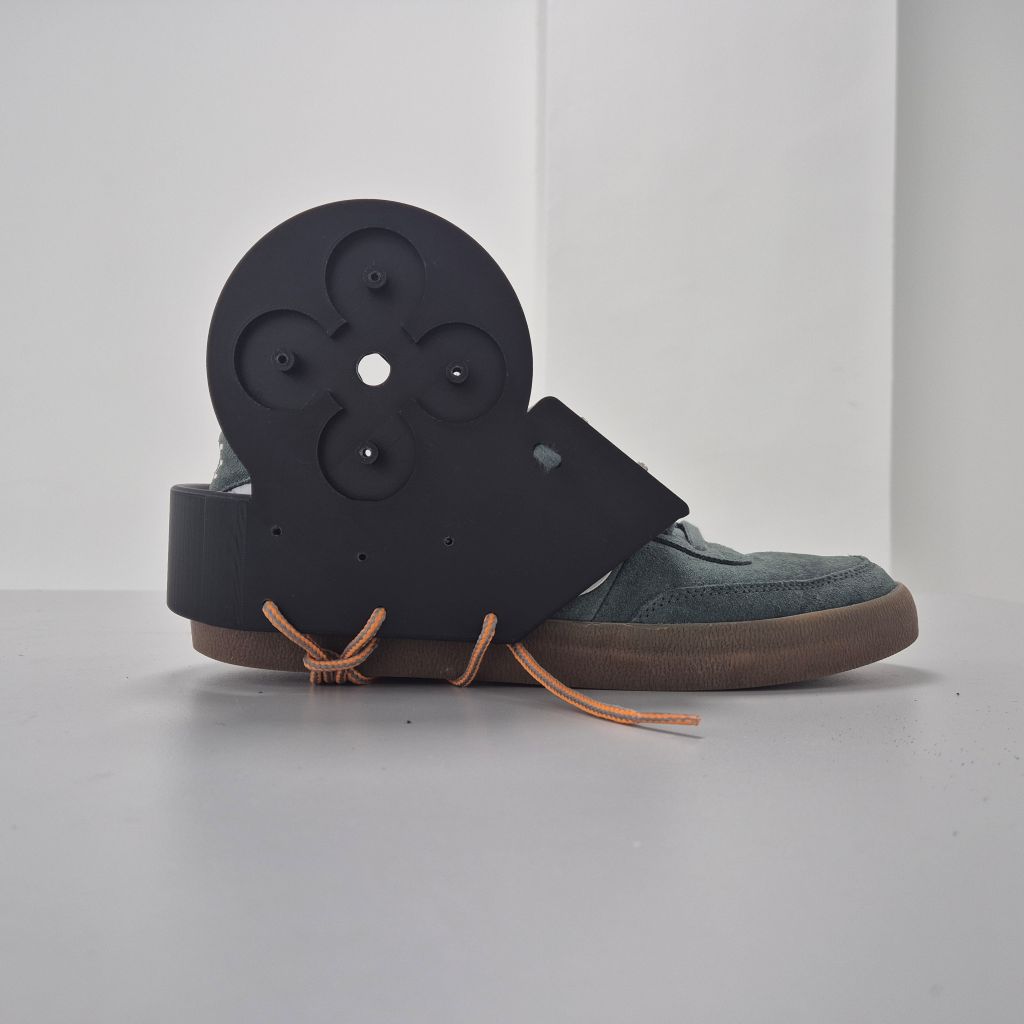
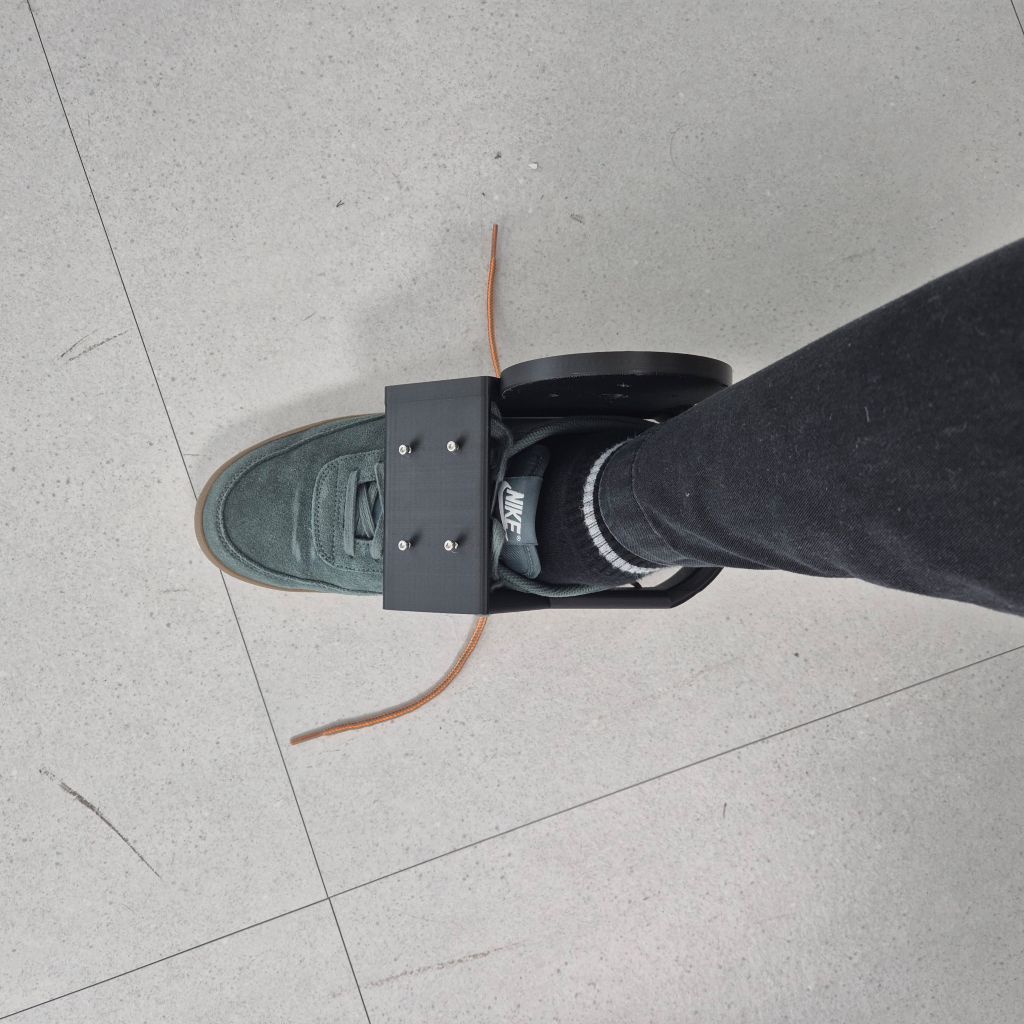
Step 4 — Wear the Shoe and Adjust Lace Tension
Put on the shoe and adjust the auxiliary shoelace tension evenly.
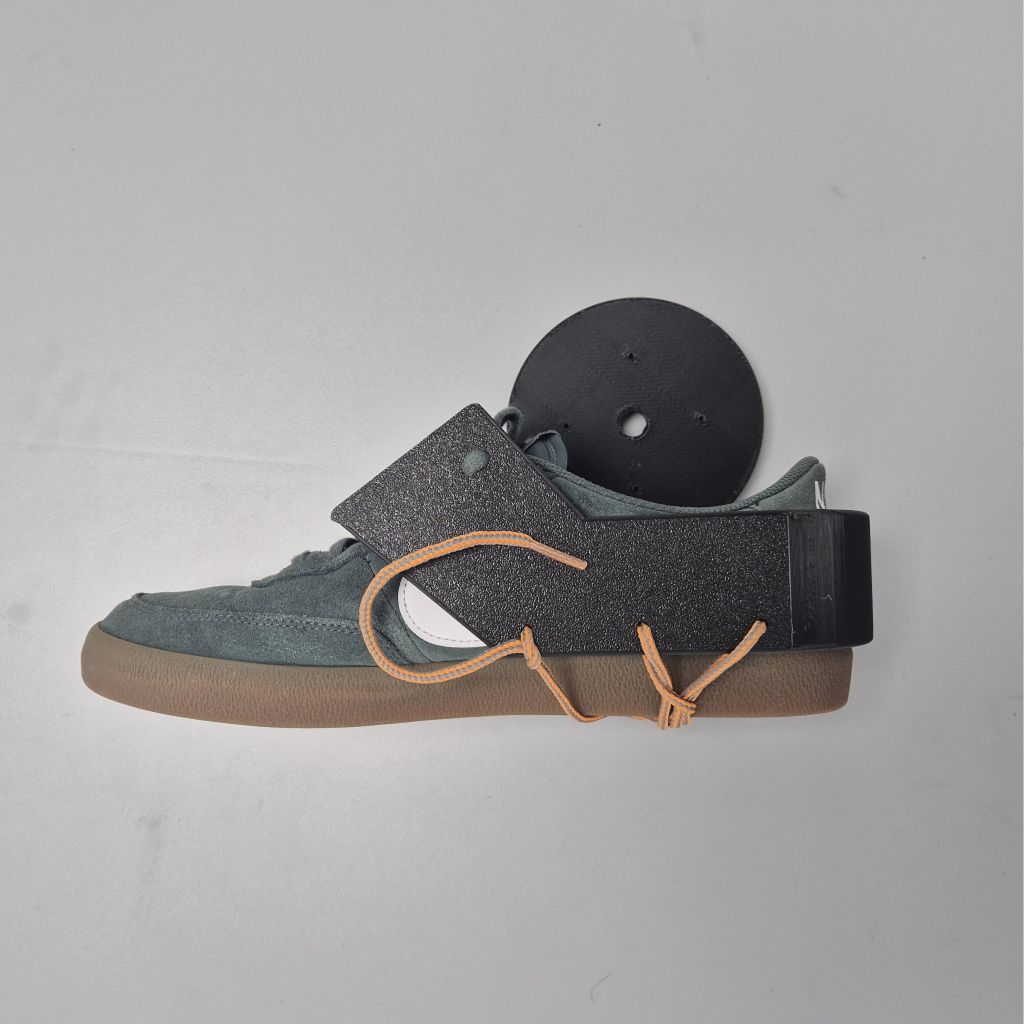
Step 5 — Tie the Remaining Shoelace
Tie the remaining shoelace as shown below.
This is one example; alternative knots may also be used.

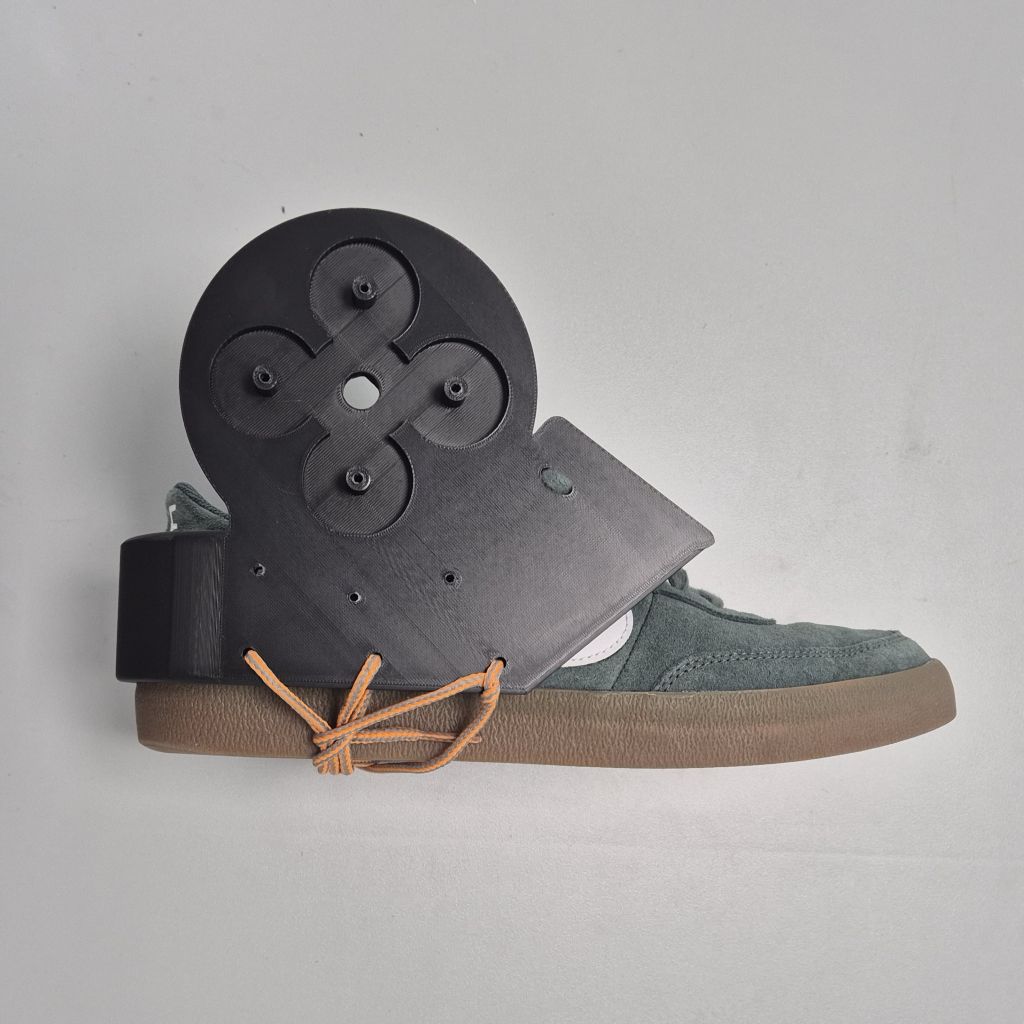

Step 6 — Complete 🎉
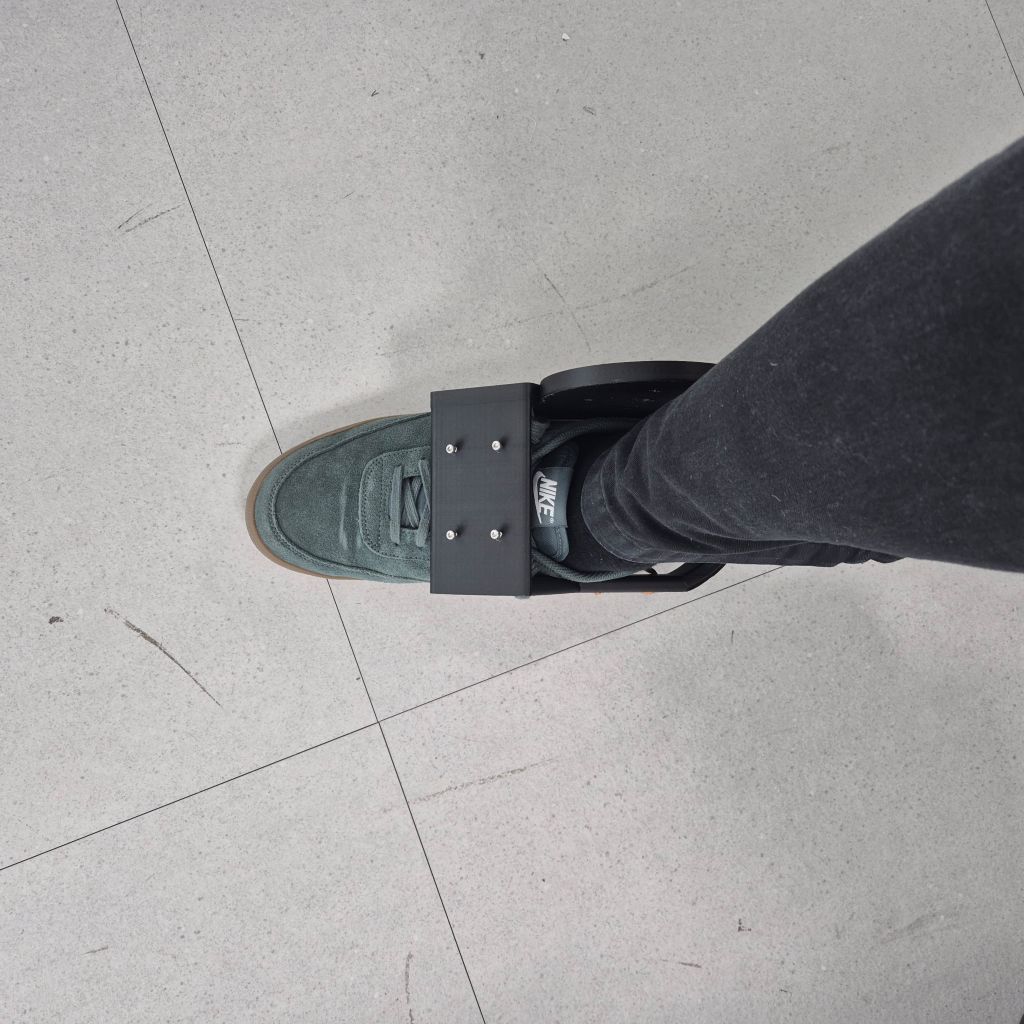
5. Next Steps
After completing shoelace fixation, return to the assembly workflow: